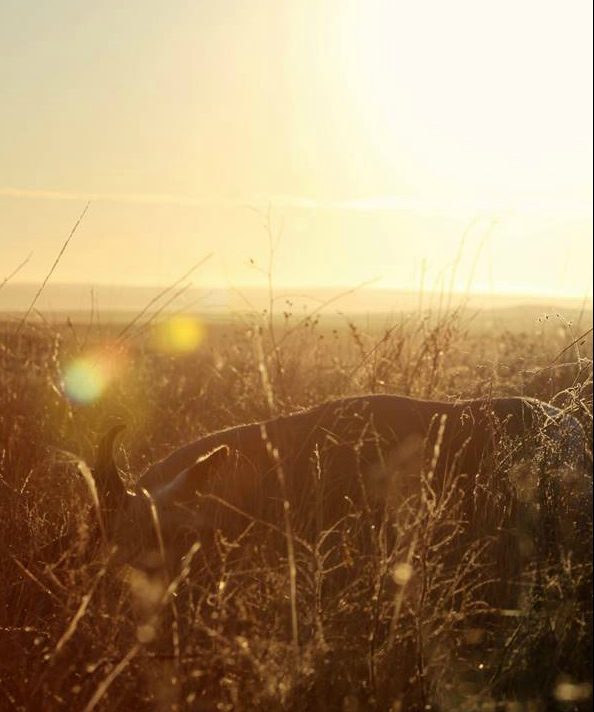
Talk to a hunter about eating antelope and you’ll get a wide range of responses, from complaining that it’s foul and tastes of sage to praising it with the highest of compliments. It’s one of the few cuts of wild game that inspires such debate.
Personally, I love antelope, and have a hard time understanding the complaints from those who don’t.
It’s incredibly lean, with fewer calories than a wild turkey and less fat than a whitetail. This is a common criticism from hunters, but it should be noted that other ungulates like elk and moose are even leaner than a speed goat. Sure, it’s no slab of grass-fed beef, but it’s no vegetable, either.
Another problem is that hunters say the bucks are too rutty. This is an invalid argument, too, as the stress level needed to achieve poor meat quality is almost unheard of. In the beef market, cows that don’t make the supermarket for being inferior are referred to as “dark cutters.” Only about 1% of cows are deemed dark cutters, and this comes from high levels of stress, like the loud noises, crowded conditions, and poor nutrition that livestock often experience in slaughterhouses.
While antelope experience “stress” during the rut, it’s simply not the same as a cow experiencing stress. Antelope are built for the rut, evolving over thousands of years to battle against foes for mating rights. Livestock are not, evolving over thousands of years to be docile with little conflict. Sure, there are likely a few antelope that experience so much stress during the rut that their meat is inedible, but it’s mostly a copout for hunters who hate seeing it in their freezer.
The reality is that antelope are hard to care for, and this is where a lot of folks mess up. Because most archery seasons take place in August and rifle seasons in October, the warm temperatures make it crucial that the carcass is properly handled. Leave the guts in for too long, or don’t get your meat immediately on ice, and you’ll pay for it at the dinner table. This is a responsibility that the majority of hunters aren’t used to with the freezing temps that often come with deer season.
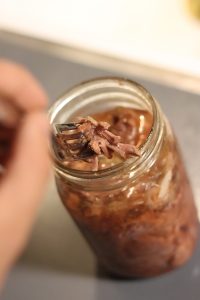
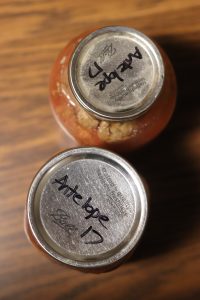
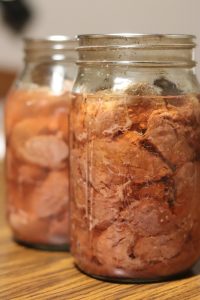
As for preparing antelope, I prefer to can my entire harvest. Canning a goat works great because you don’t need to worry about aging the meat, which is difficult to pull off without an industrially sized cooler to hang in. By canning an antelope, you’re saving yourself cooler space now and freezer space later.
There are some rules to note when canning meat, though, like that you must use a pressure canner. This is because meat has a low acidity, which doesn’t have a low enough pH value to kill bacteria. Unlike tomatoes and fruits, which have a high acidity to kill bacteria, which can be canned in a pot of boiling water. Pickles are an exception, which have a low acidity, but the addition of vinegar increases the acid levels. To summarize, the pressure canner kills bacteria that the meat can’t do on its own.
Also for canning, you can go super simple, or let your freak flag fly. I prefer a very small amount of garlic with my canned antelope, but it doesn’t take much to give the meat strong flavor. Others like to add beef bouillon, salt, pepper, or onions, but again, just a little bit of these ingredients go a long way.
As for recipes, the possibilities with canned meat are pretty endless. Since the meat will be fork tender and shred easily with some added heat, it can be used in stews, pasta, barbeques, or eaten plain on a cracker. You’ll have plenty of time to try out new recipes, as canned meat can store for super long periods. Although the USDA recommends eating canned meat within a year, this is for quality and nutrient purposes but is no reflection of food safety. I’m still eating on my antelope from 2015, and it still tastes like it was harvested yesterday.
[one_half] [/one_half][one_half_last]
 [/one_half_last]
Ingredients
20 lbs of antelope
Pressure canner
Canning jars, lids, and rings
Garlic, onion, salt, and pepper optional
- Remove all fat from meat and cube into chunks that are slightly smaller than a golf ball.
- Pack the meat tight into pint or quart sized jars, leaving about 1” of head space.
- Don’t add any water! The meat will release enough juice as it cooks to fill the jar.
- Add ring and top to the jar, and place in pressure canner with the recommended amount of water for your specific canner.
- For quarts, can at 15 pounds of pressure for 90 minutes. For pints, can at 15 pounds of pressure for 75 minutes.
- Remove jars from canner and let cool for a couple hours before storing.
[one_half] [/one_half][one_half_last]
 [/one_half_last]
For more recipes of Field to Table, click [track-link url=”https://outfitter.media/field-table-venison-philly-cheesesteaks/” campaign=”FieldtoTable” target=”_blank”]here[/track-link].