You finally have the property that will allow you to put in a more permanent blind so you want to do this right. Your site inventory has provided you with wind direction, sunrise and sunset, water levels and proximity to the decoy spread. If you have done your homework this is your time to get the blind in while it is dry and more importantly so you can blend it in, in the late summer and fall to conceal as best as possible.
Size is always a factor. How many people do you really think will be hunting with you? Sometimes four, sometimes eight? Do you want some room for equipment, your dog, a kitchen and maybe even a lounging area? I have seen some incredible blinds in my day and no one builds the first one exactly right. Changes will occur.
You can determine a budget, but experience also tells me with waterfowl budgets go out the window. Build what you want and have fun.
The site location might have been pre-determined if a blind once existed in that location. Flooding, rot or just wear and tear might have taken that old blind out.
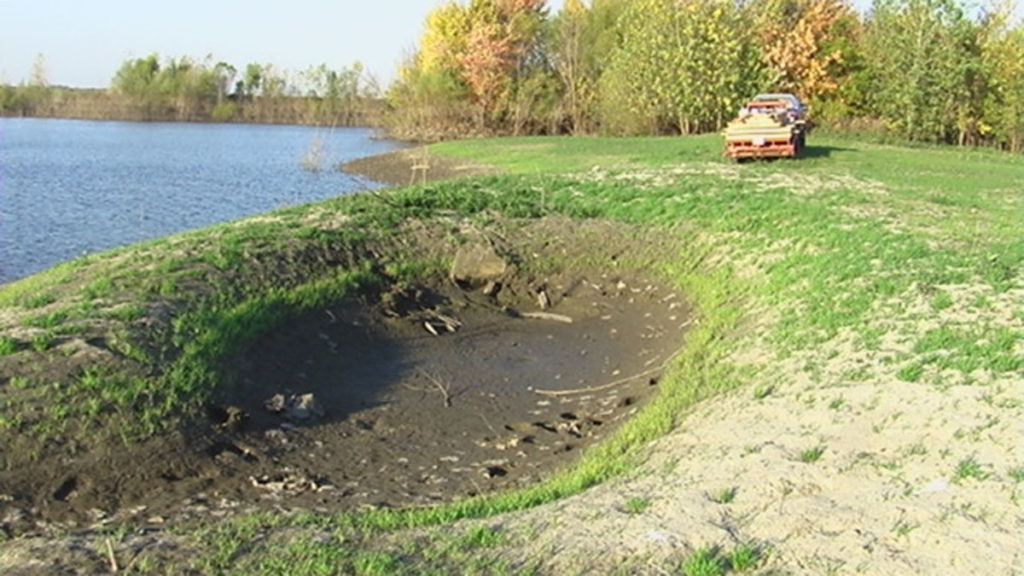
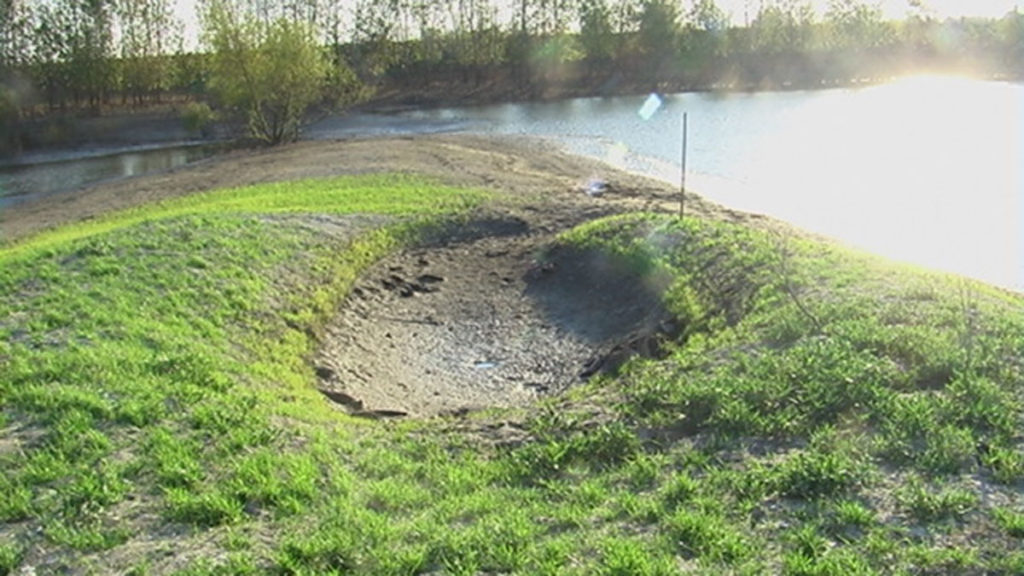
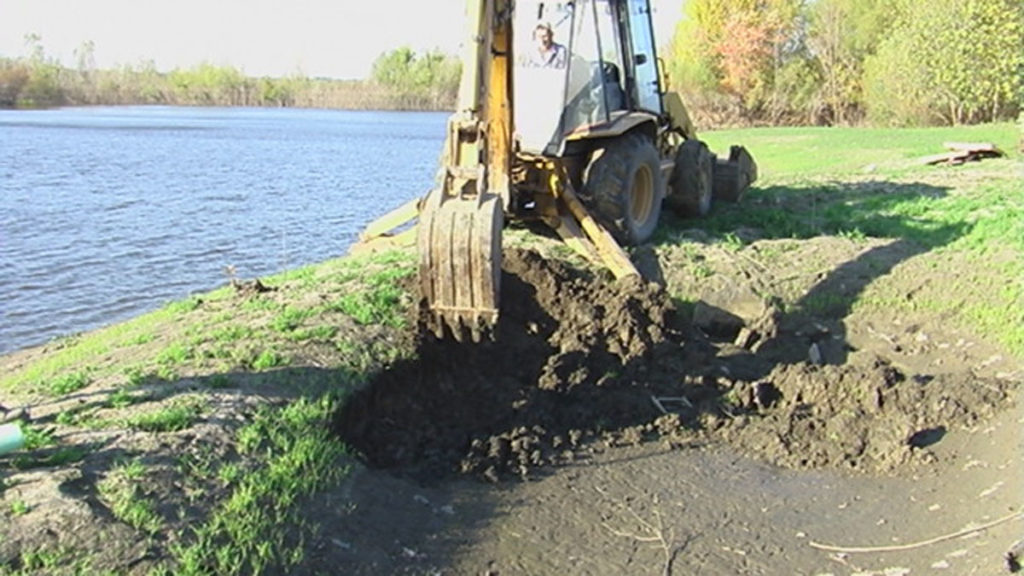
I have dug these by hand and with a backhoe. I prefer the latter especially when the build is big. The dry ground gets really important as the machine has to be able to get in and do the work without getting stuck. Make sure you dig it big enough and that the bottom is level. It never hurts to add a drain in under the floor to make sure if it floods, the water can drain out. Nothing worse than a muddy blind full of water.
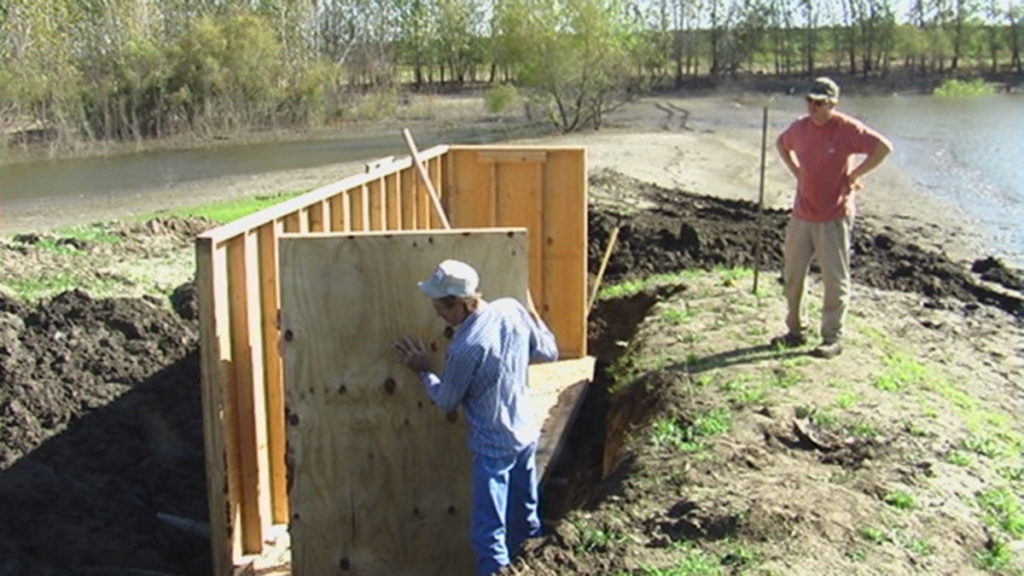
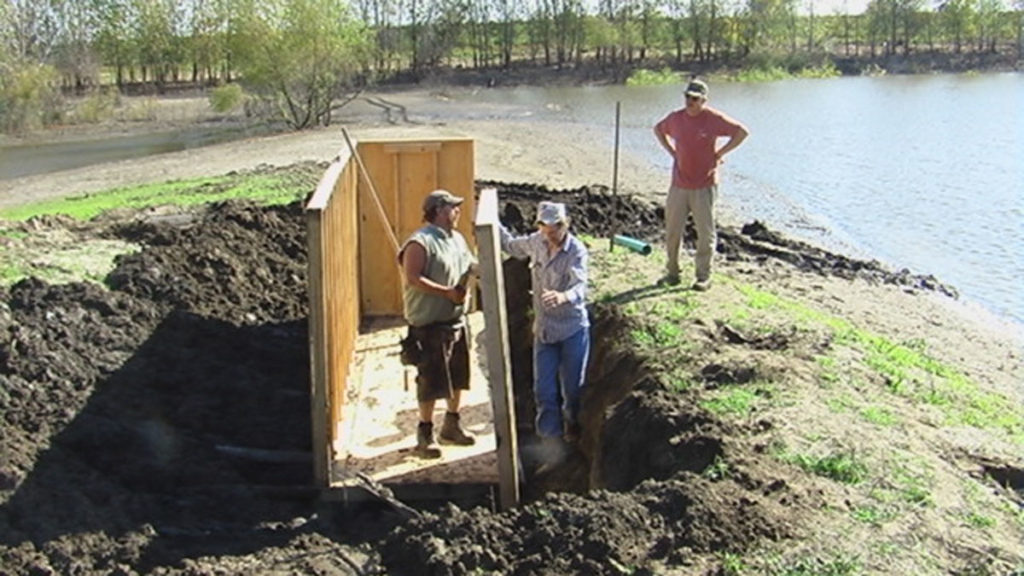
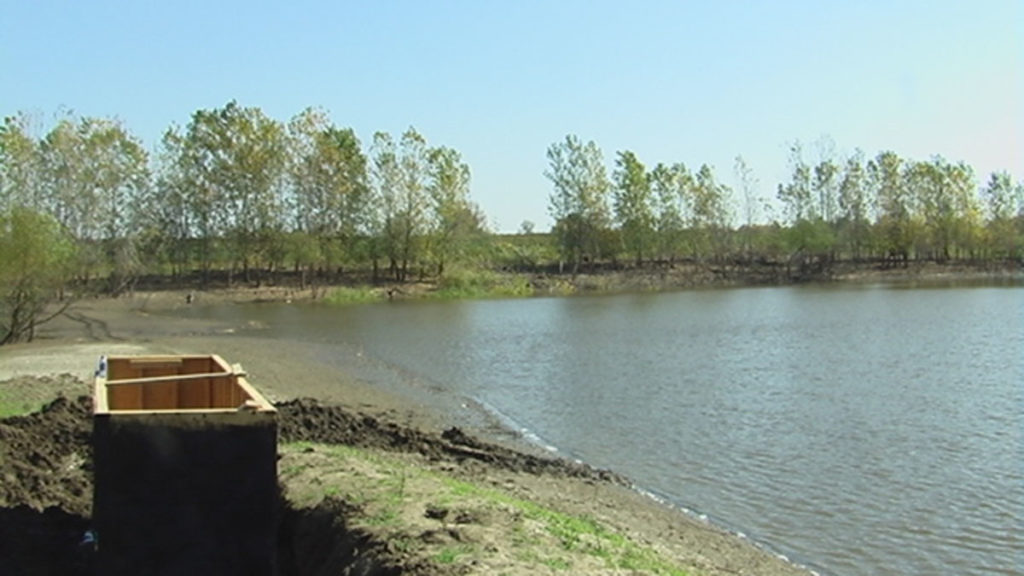
Once you get the walls in place it is a good idea to surround the blind with tar paper and to tar the outside to keep the wood from rotting and to keep whatever water you can out of the blind.
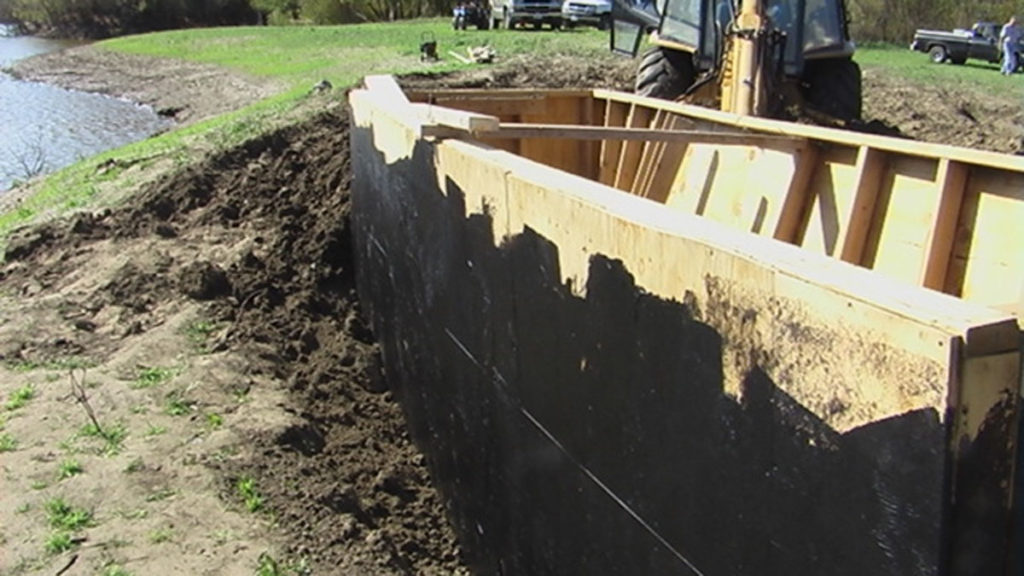
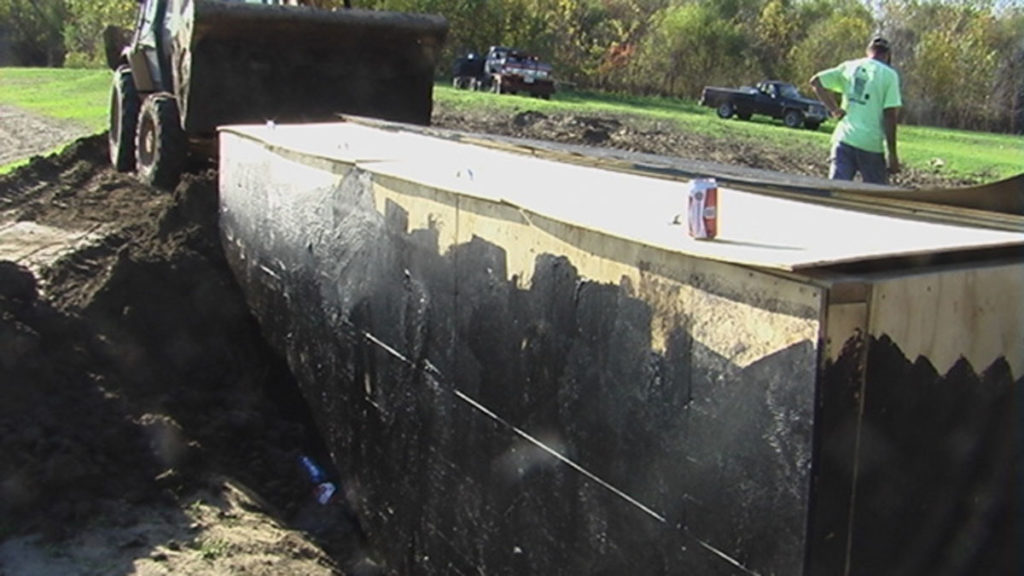
Once you have it all in place, it is time to back-fill. This is tricky as too much dirt against the walls can collapse them (experience) and require you to dig it all back out and replace the wall. Take your time and pack the dirt as you go. Settling will occur, but you can minimize the settling with a little more work. Go ahead and wrap the tarpaper up and over the top.
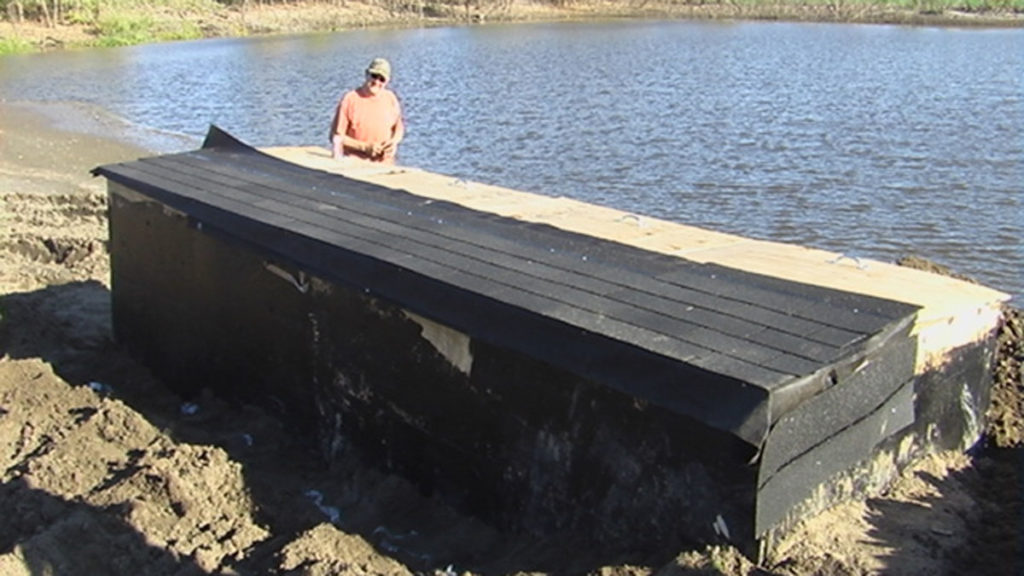
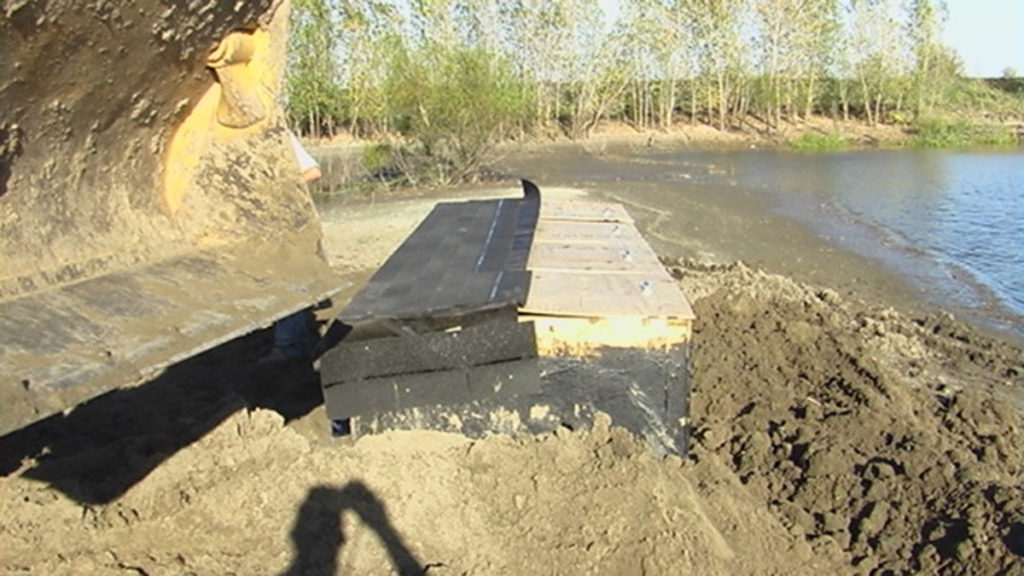
When all is buried, your blind is ready to brush-in. Not much required since most of it is below the ground. You still need to add a layer of shingles over the tarpaper to ensure the roof does not leak.
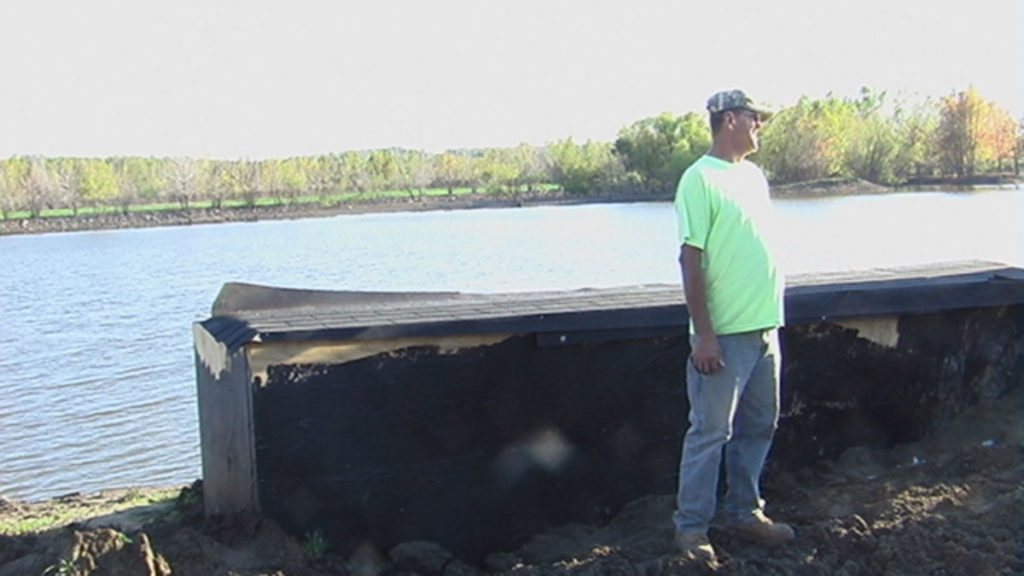
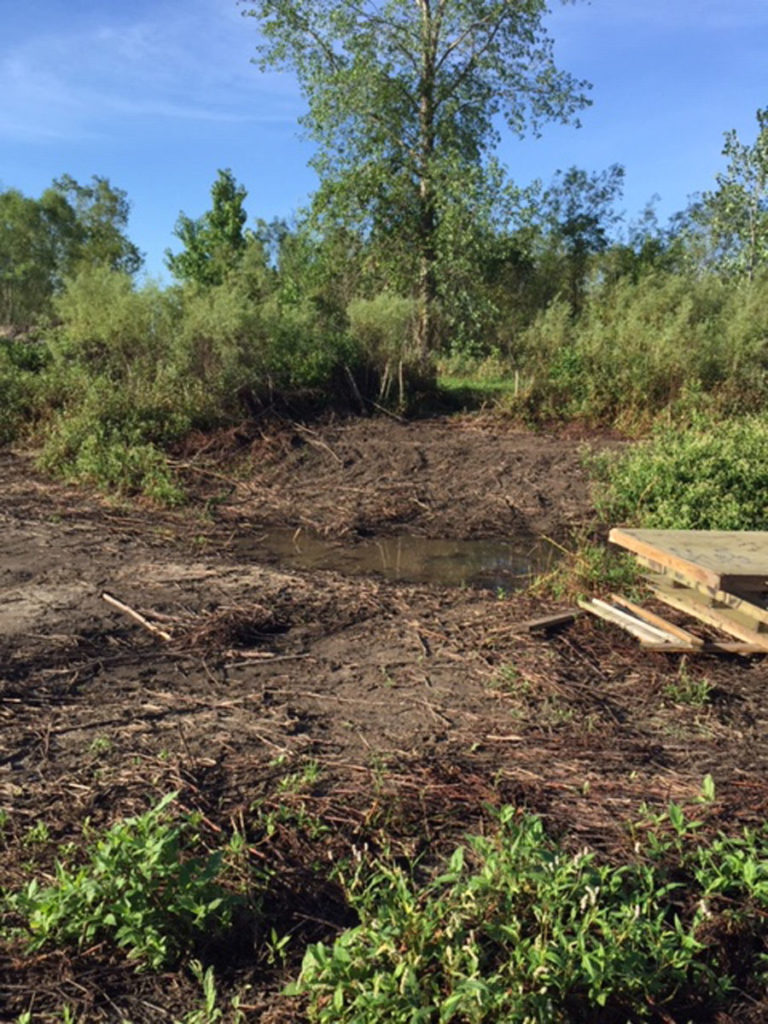
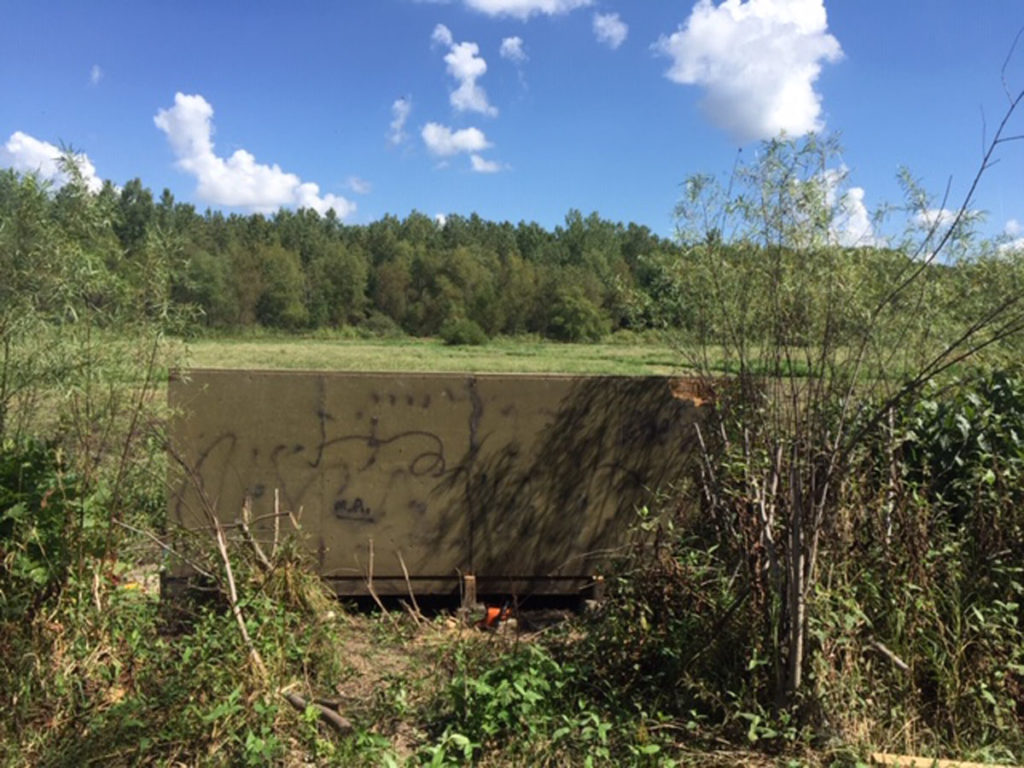
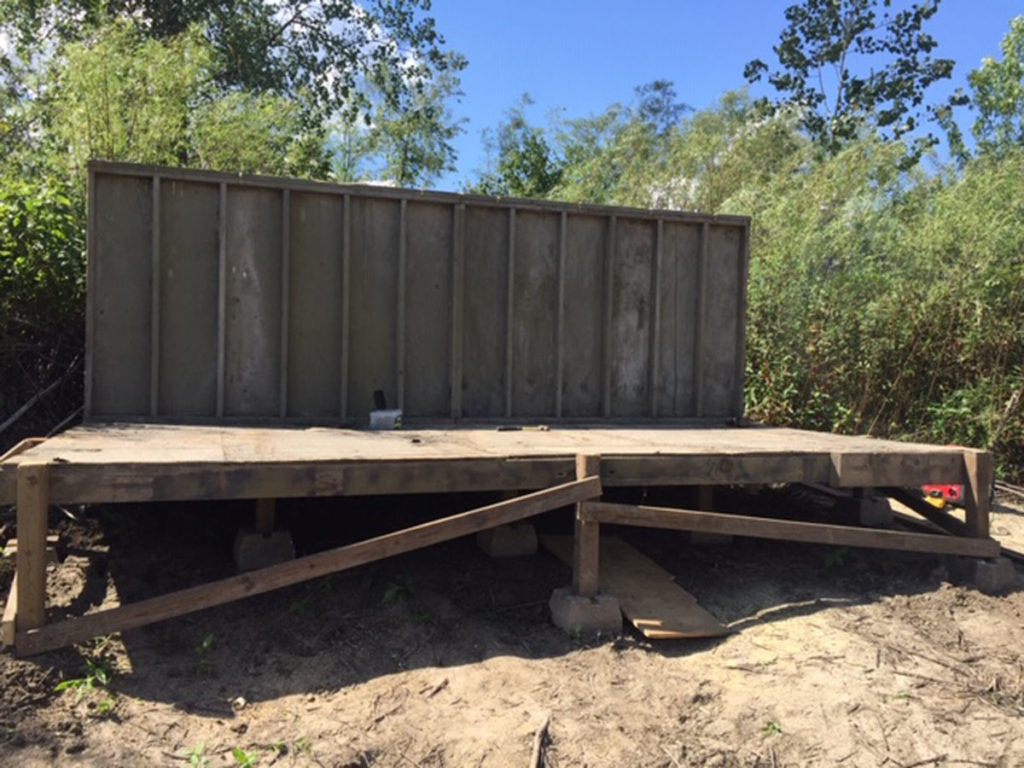
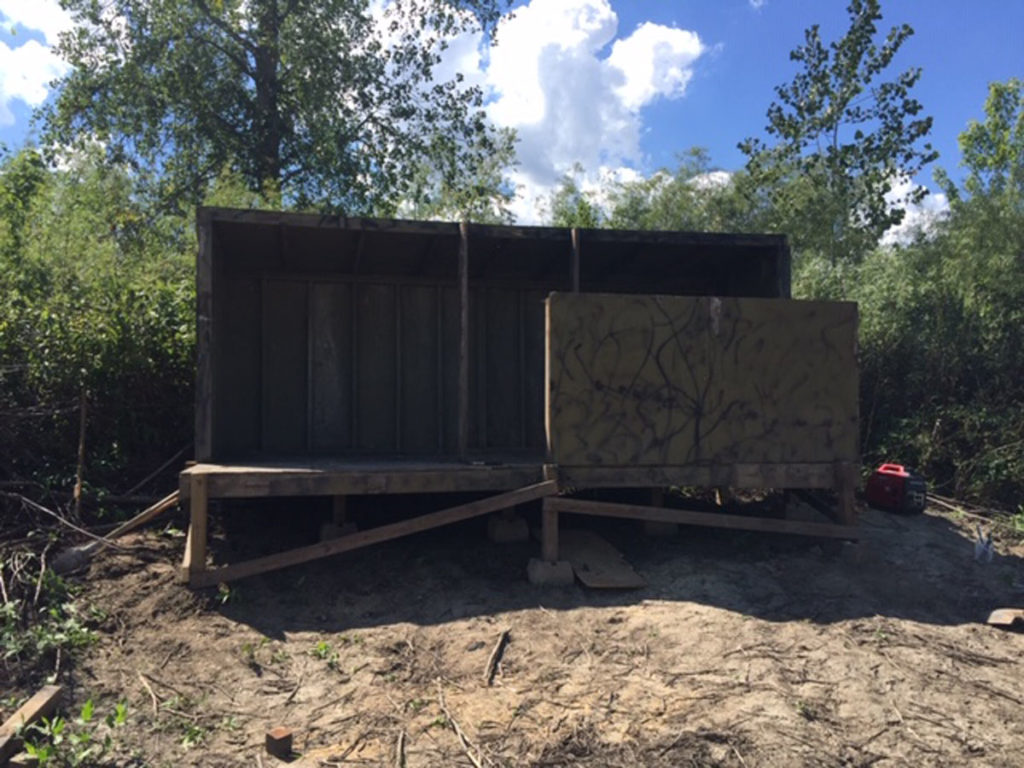
Of course, not all blinds are pit so what do you need to do to get a surface blind in place. The pictures here show our blinds after we decided it needed to be moved. Our first order of business was to get a good base platform ready for the blind. This blind is about 16’ long and 8’ wide. Plenty of room for 5 or 6 hunters. We wanted to have it close to the water but also turned slightly to get the sun out of our eyes.
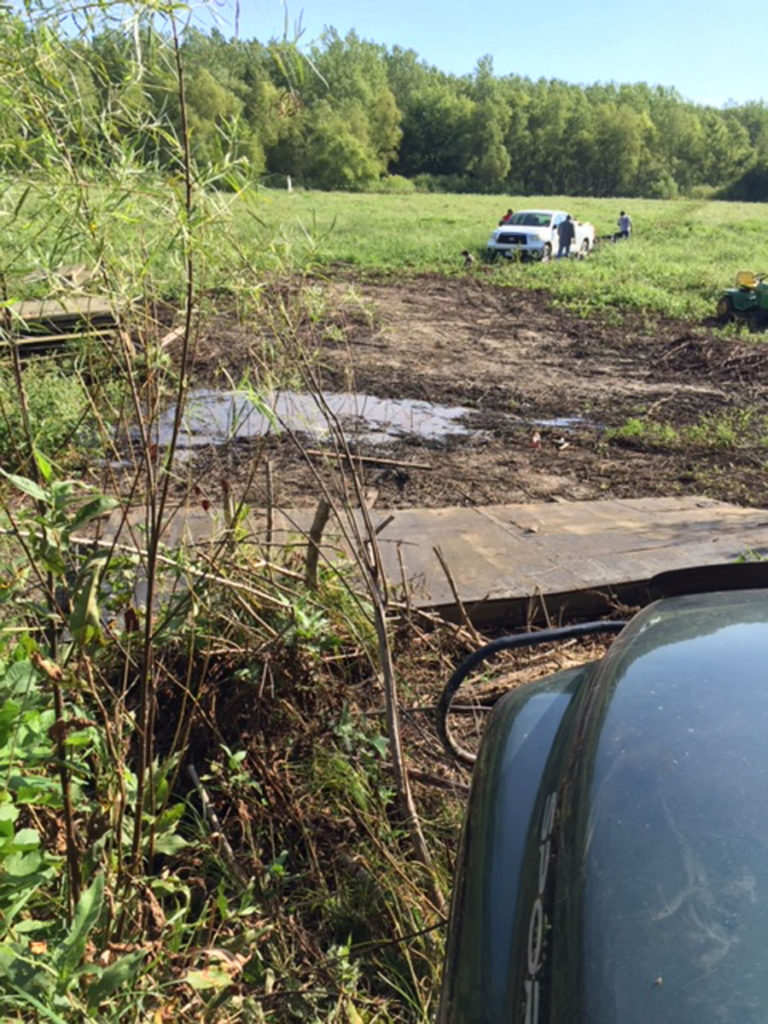
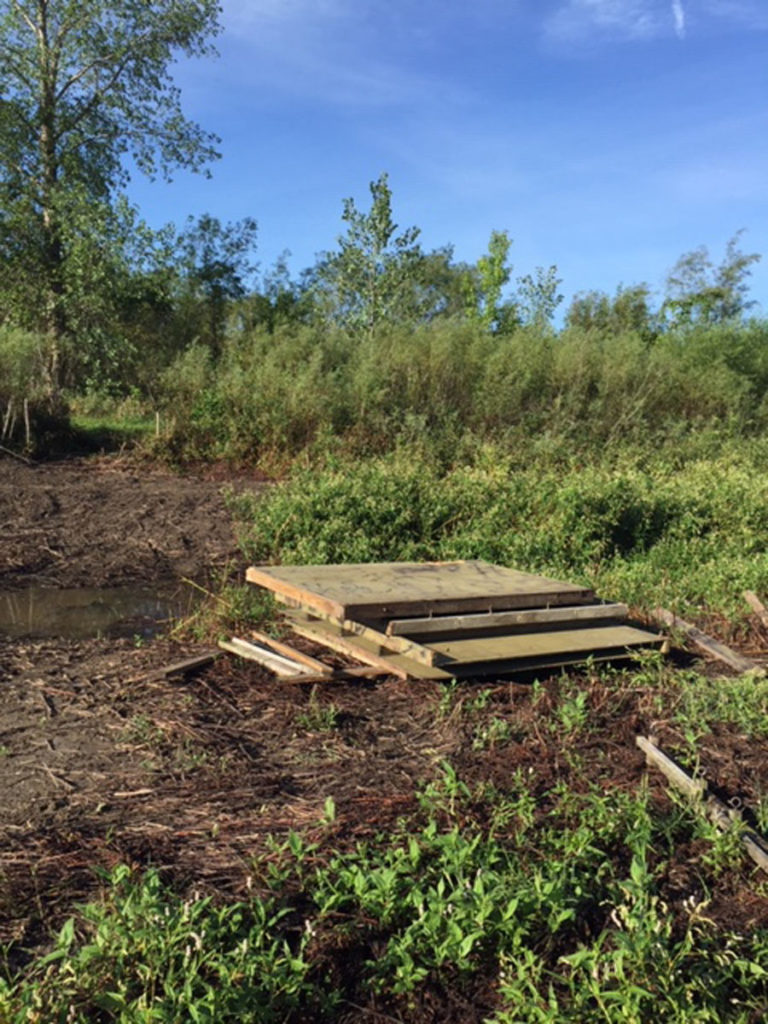
We were lucky to have a skid steer loader to level off an area and to clear the bank slightly to get the platform placed. Unfortunately, the deck was huge and heavy so we cabled it and pulled it up onto the structure we leveled. Make sure the platform is secured to the ground so flooding does not move the blind.
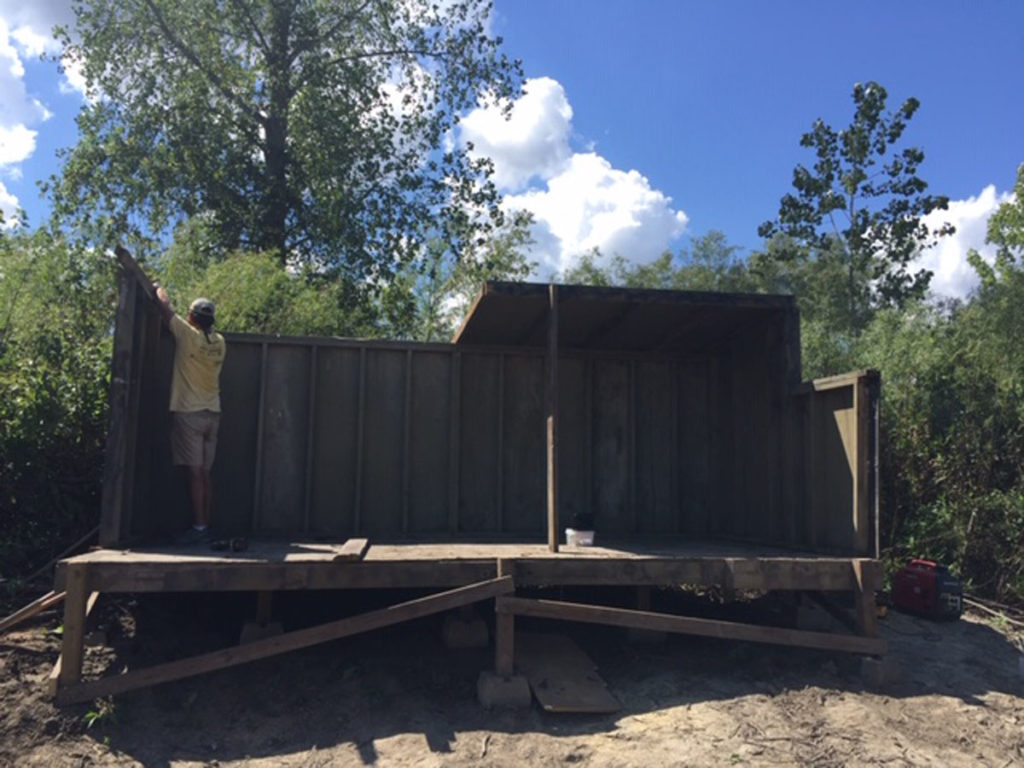
Once you set the deck you have a good place to work. You can either build the walls like you were framing a house or in this case move walls up and attach them. With some brute strength, we got the walls up.
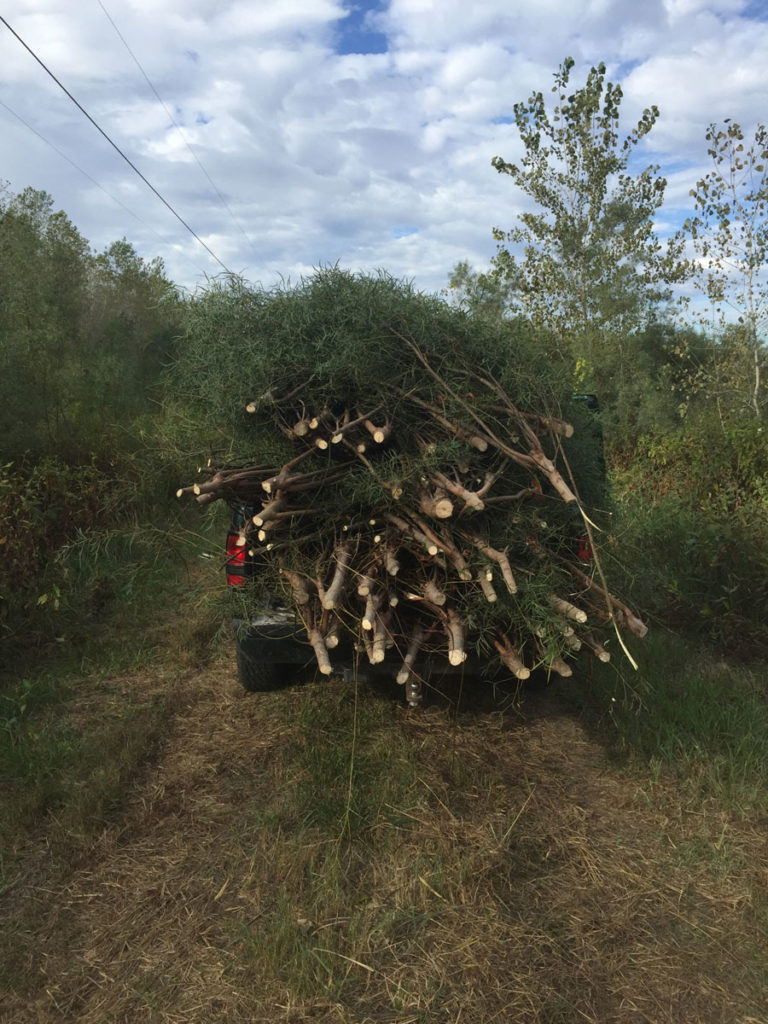
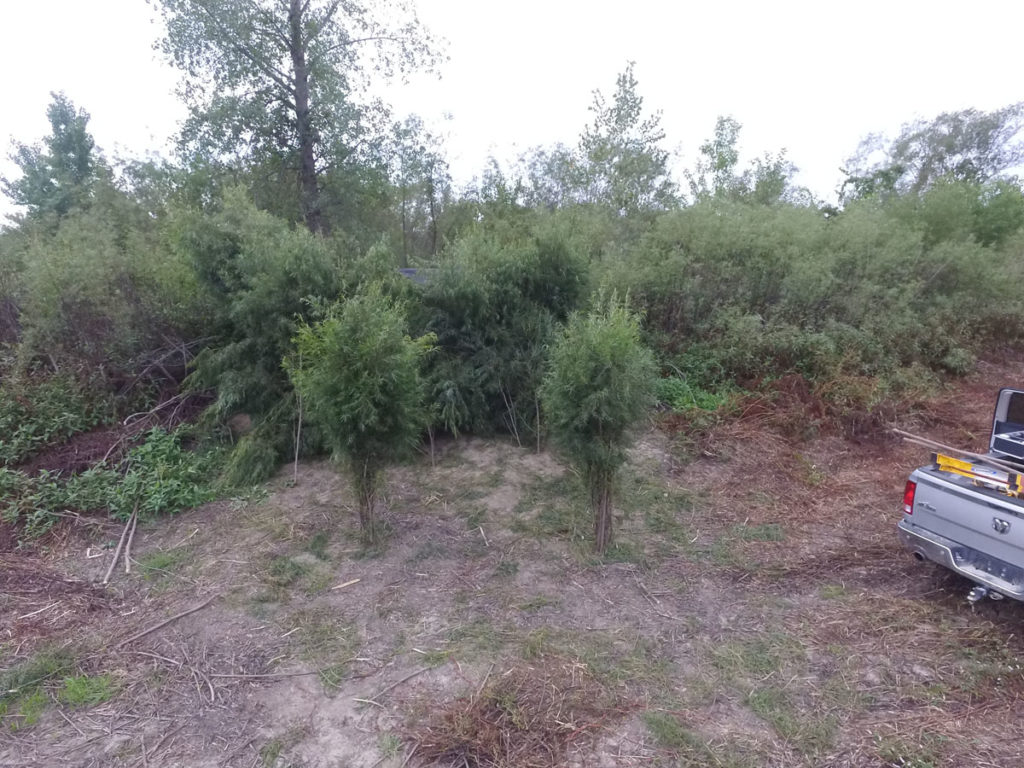
After it all gets in place you can brush it up. This really sets the tone for the season. Lots of willows needed, but in the end and after a frost the blind blends in perfectly.
Both blinds can easily be built. It just takes some planning and labor. It also really makes you appreciate those cool and cold days of the season after sweating through the building of new blinds. A quick word on pre-fab and concrete blinds. Take special note that the accidental discharge of a shotgun inside a steel or concrete blind can be very serious. It makes sure you have something to absorb an accident like this line your blind with plywood.
