When starting the foundation program for your pup, it is important to set clear expectations for what you want from your pup. It is important to write down clear goals for what you want to achieve so you can track them. Having clearly stated goals will tell you if you need to spend extra time with your dog doing more drills to meet one of those goals, or if you need to add to your goal list.
When breaking down the stages of the Hunt Smith puppy development program, there are clear steps to follow. I found that the one factor that brought the most consistent success for my expectations was doing the same drills in many different social scenarios. This not only reinforced cues but also gave me added confidence in my handling. Working with my dog in different environments also helped me to identify the smaller details of refusal. Adding in extra distractions during training was the key to having my shorthairs’ obedience to the level where they could join me in my day-to-day routine.
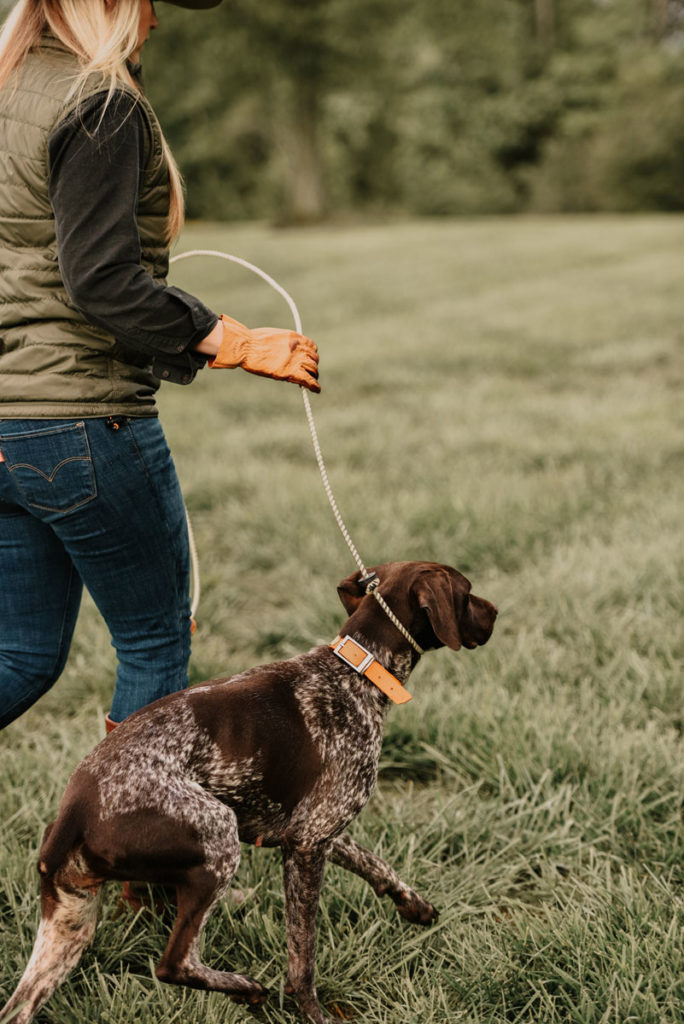
The command lead teaches your dog to go with you and walk on a loose lead. Personally, I want to be at a level of obedience where I never need a lead. It is most convenient to have a dog that will easily stay by your side with no tugs on the lead nor complications getting you tangled up causing you to trip and fall. This stage also teaches your dog to obey cues from you. Using a pull/release correction, this lead will let your dog know that you mean business. The expectation is to have your dog stay beside you at different paces and when changing directions on a loose lead. Using the pull/release correction, your dog will learn to consistently make the proper choice for itself. Focus on timing of your correction. Your dog must be given encouragement when they first ignore or choose to do something different than what you have asked of them.

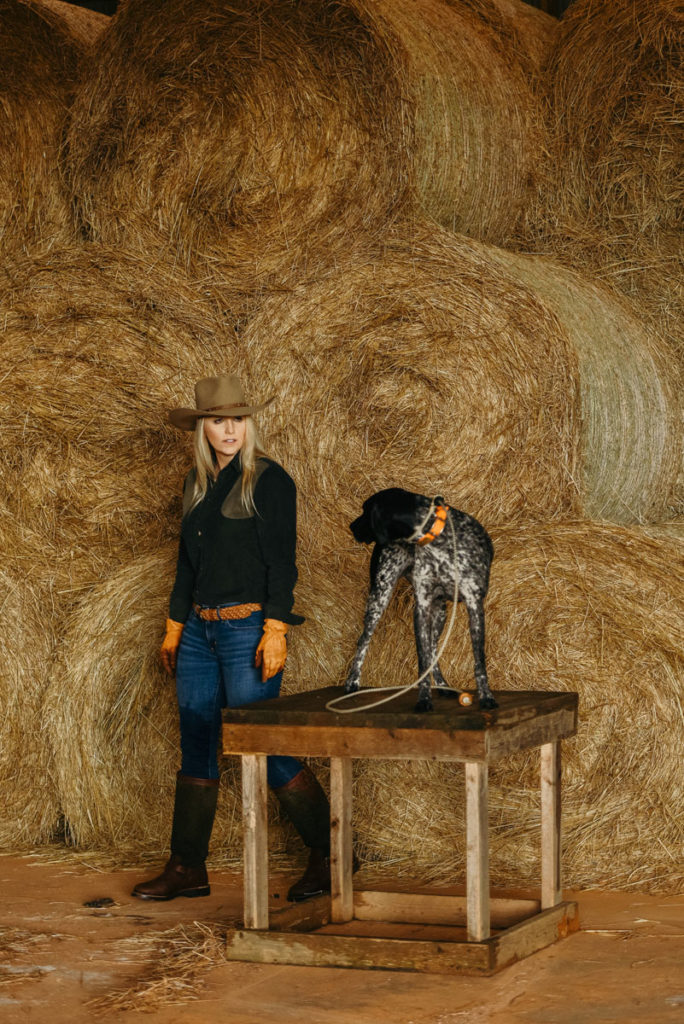
If you have visited a Hunt Smith beginner’s clinic with Rick Smith, you will know that, when it comes to working your dog, you use what you have. My first introduction to drills for working dogs on a command lead was to not limit my creativity and to just get my dog going with me. There are great obstacles you can purchase to set up, but anything around the house can be used to test levels of trust. During my first clinic with Rick, we had a wooden platform, a barrel and an extension ladder laying on the ground. I’ll never forget how trying the ladder was for both of my dogs, and the success I felt when they trusted me enough to trot smoothly through the obstacle. To this day, I have an extension ladder in my backyard and, from time to time, I will ask the dogs to trot through the open squares. They must perform the task without showing any hesitation before I let them go back to play time. It’s a great way to get their minds engaged. Any objects that make your dog think and trust you are great options when training with the command lead. When I get the asked response, I immediately give positive reinforcement. A happy dog loves to work!
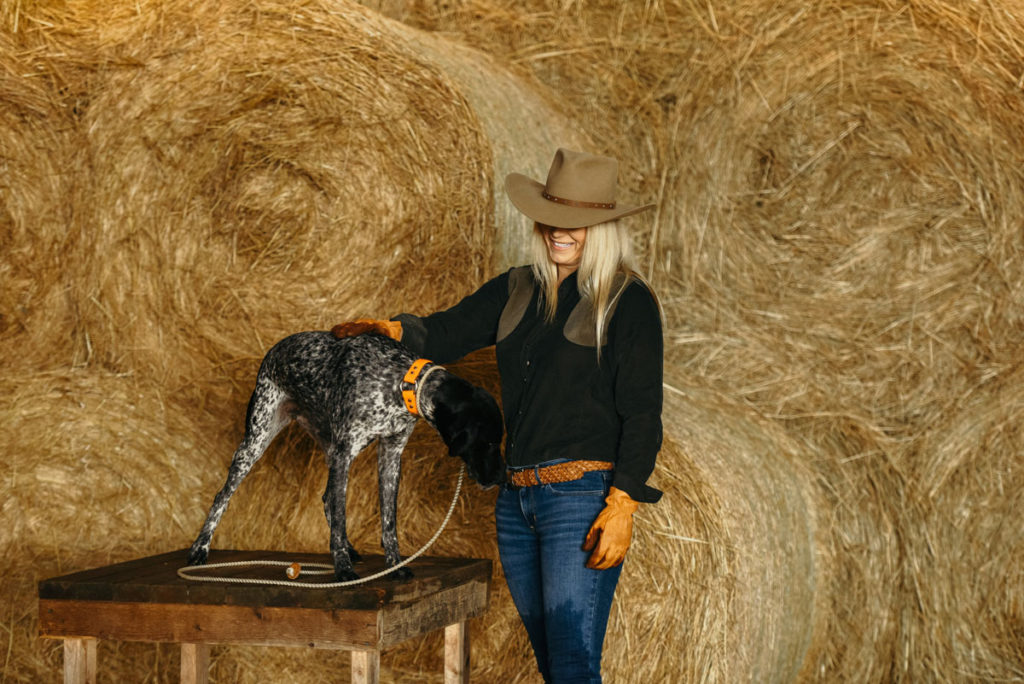
After your dog achieves success with the command lead, moving to the check cord allows them to build on their confidence doing similar tasks at a greater distance. Using a 20-foot rope with a brass swivel clip, continue drills and challenging your dog to make the right decisions on its own. It is important to always keep your dog in front of you during check cord drills so that no bad habits of running behind you are created. They will show up in the hunting field.
When moving to field drills and covering more ground, quartering drills reinforce “go with you”. Walking in a zig-zag pattern using the 20-foot check cord, you teach your dog to go with you in spaces that offer a lot of distraction.
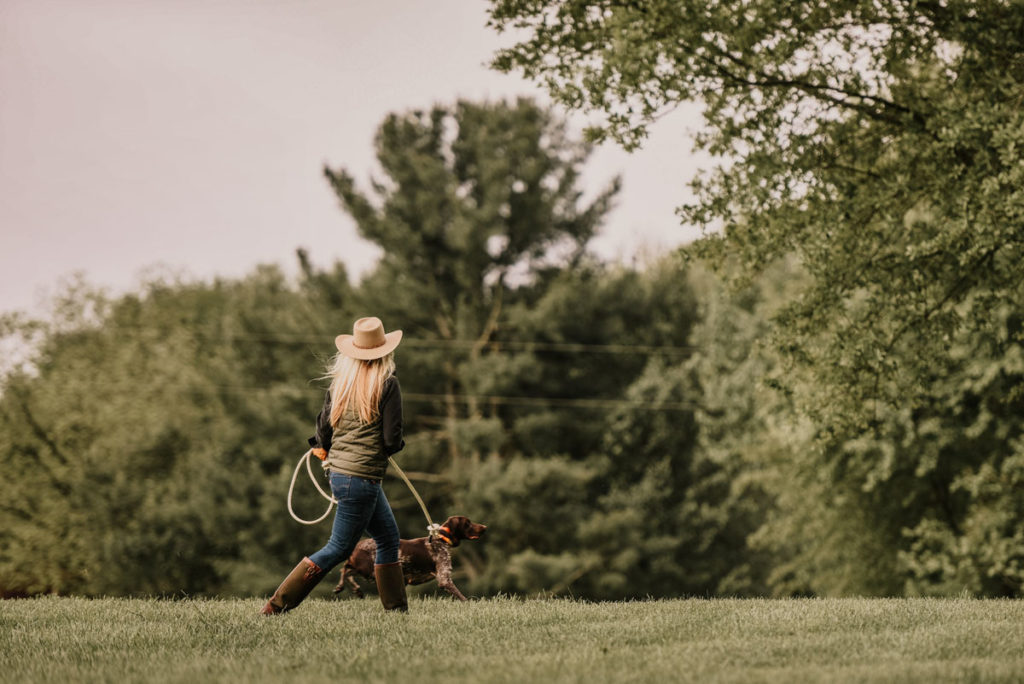
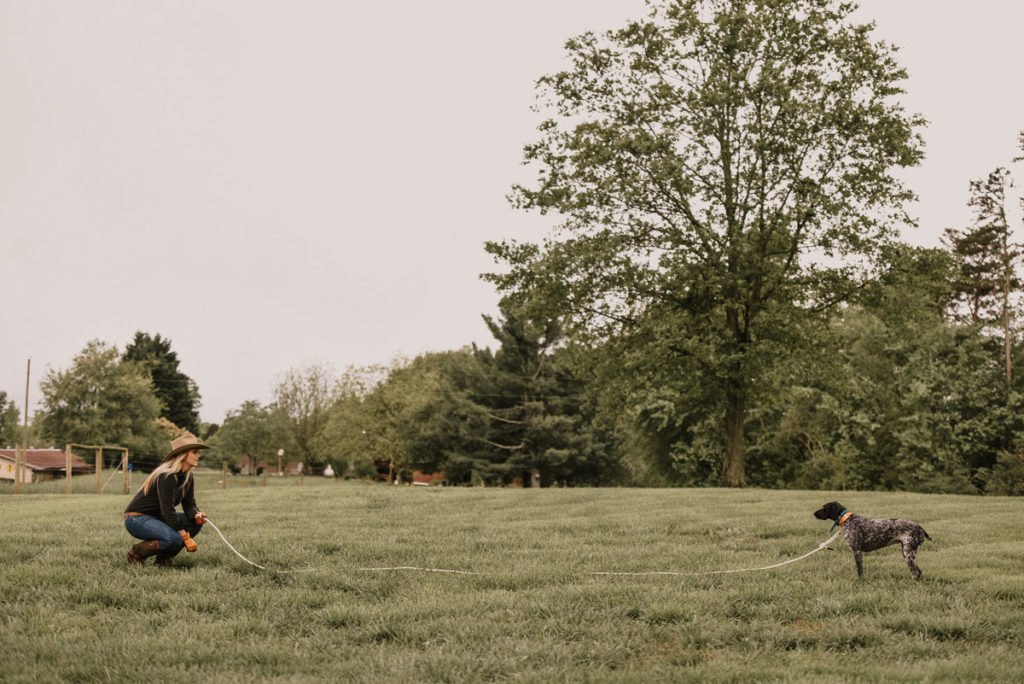
Reinforcing “HERE” on a check cord will give your dog plenty of space to learn to obey on his own without the risks of him bolting. This is where you build the next level of confidence for your dog and yourself. You will also learn to trust your pup.
To put “HERE” into action, walk with your dog, letting him reach increasing distances with the check cord. Start rather close, working your way up to using the full 20 feet of rope and giving your dog the command. If a reaction isn’t immediate, continue the pull/release method of correction, allowing for your dog to make the right decision. Once your dog is consistent, you can transition to the e collar.
Before beginning the use of an e collar, you should be educated on how it works. I do encourage reading the manual. I actually have used stimulation on myself to fully understand what my dog experiences. Honestly, who hasn’t tested their e-collar? As I stated in last month’s article, my collar of choice for training is the [track-link url=”https://buy.garmin.com/en-US/US/p/140325″ campaign=”GARMIN” target=”_blank”]Garmin 550 Pro[/track-link]. It has been reliable for years. I repeat many of the same drills using e collar stimulation to get the desired conditioned response. Using heel drills at different speeds, a platform for place training, “Whoa” and more, I have proper obedience for a happy life with my dog and a foundation for bird dog training.
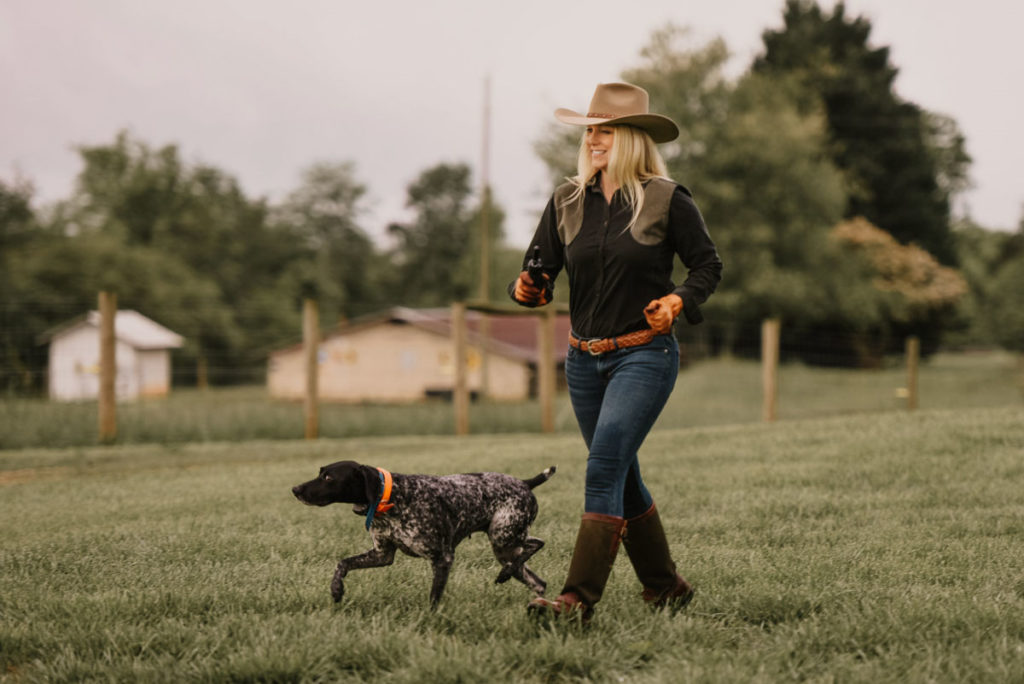
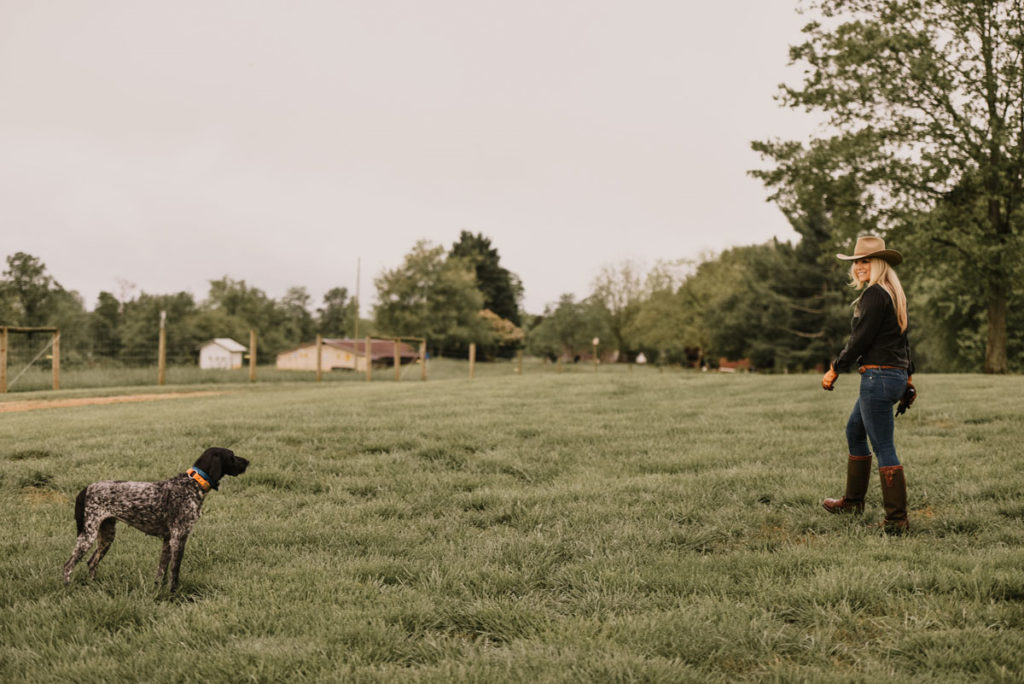
You must remember – the best training methods are the ones that are performed consistently. You must be creative with your schedule and the tools to which you have access. The more your dog experiences, the better his manners will be. These simple skills will allow your dog to enjoy more freedom because of the trust and relationship built during training. Dogs want to have a role in leadership. If they are conditioned to make the right choice consistently, they will make a better companion and hunting partner.
There is no better reward for the work I have invested in my girls than having them with me on the road and at home. My shorthairs aren’t just kenneled hunting dogs, they are my buddies and we live life together.
