Part I
If you are like me you tend to buy calls, use them, like them, hate them and move on to the next one. Calls take a ton of abuse and often we pay little or no attention to taking care of them both for maintenance and for adjustments. I sat down with a good friend and someone that calls as well as anyone I know, to discuss the call components and how anyone can disassemble, adjust, and rebuild just about any call with a few spare parts.
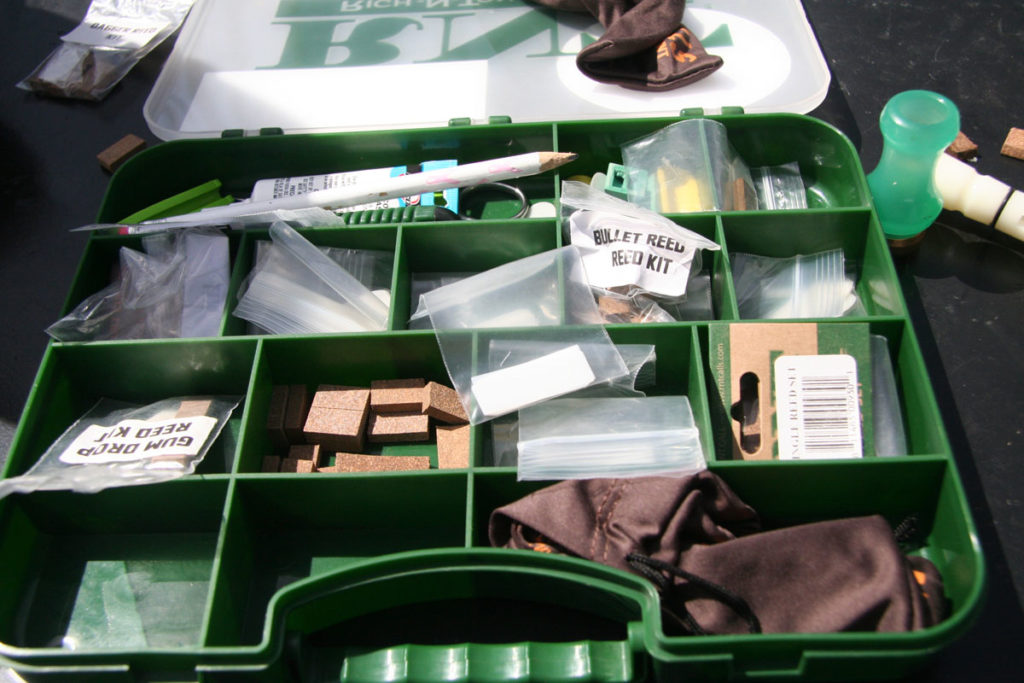
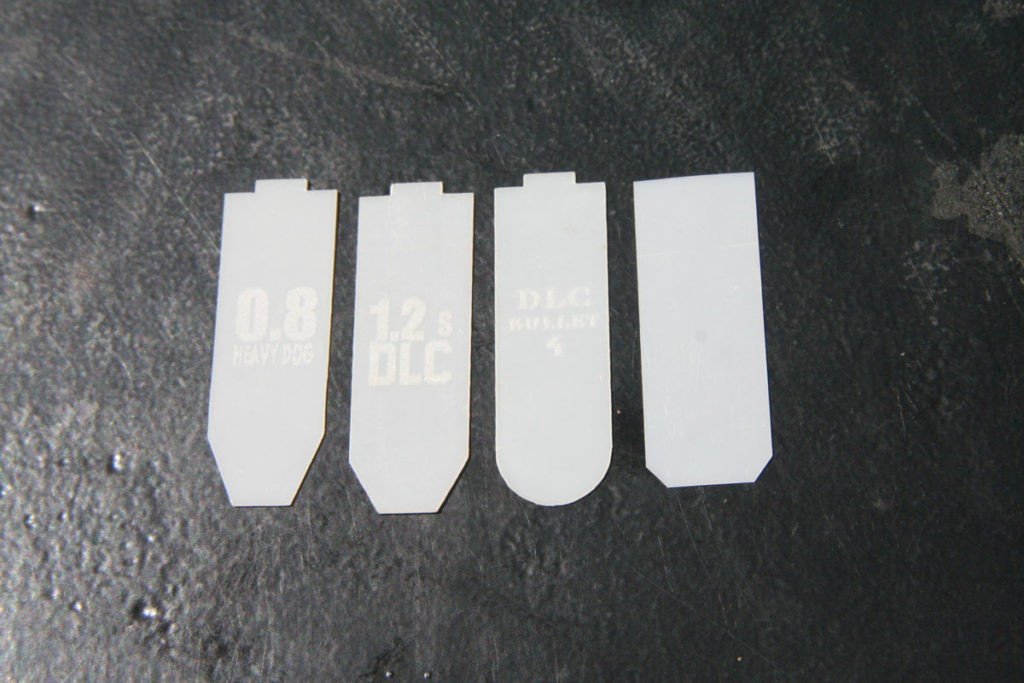
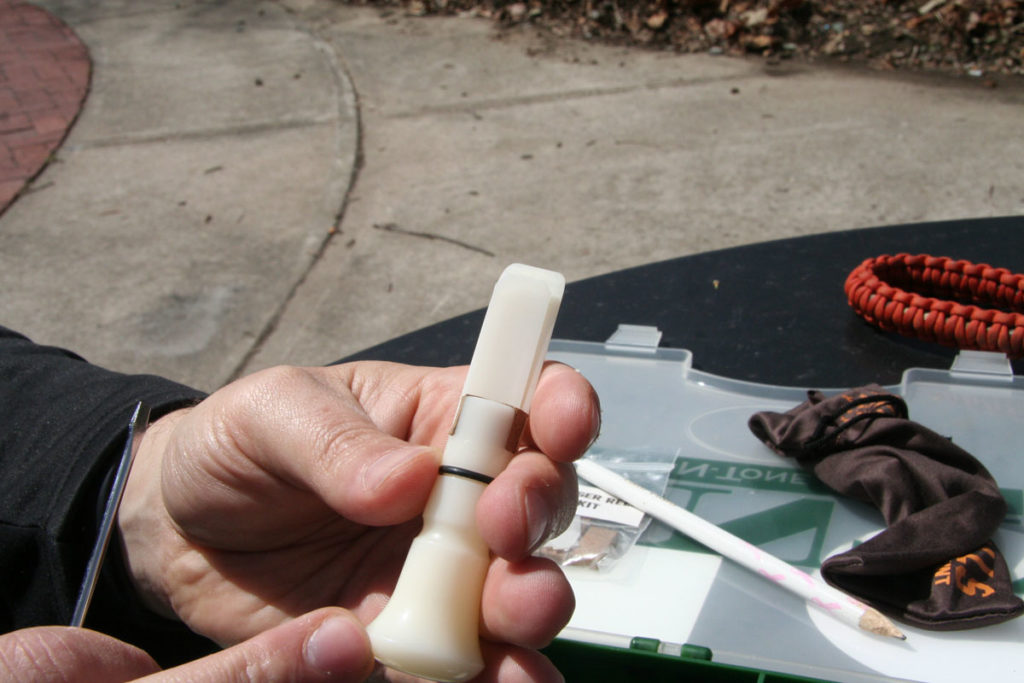
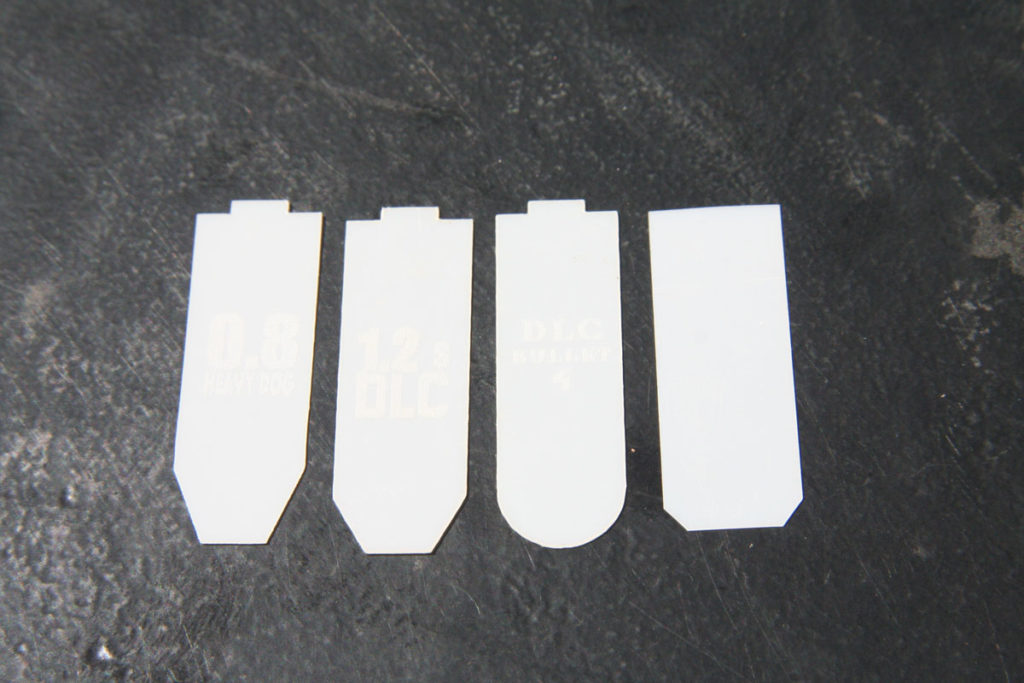
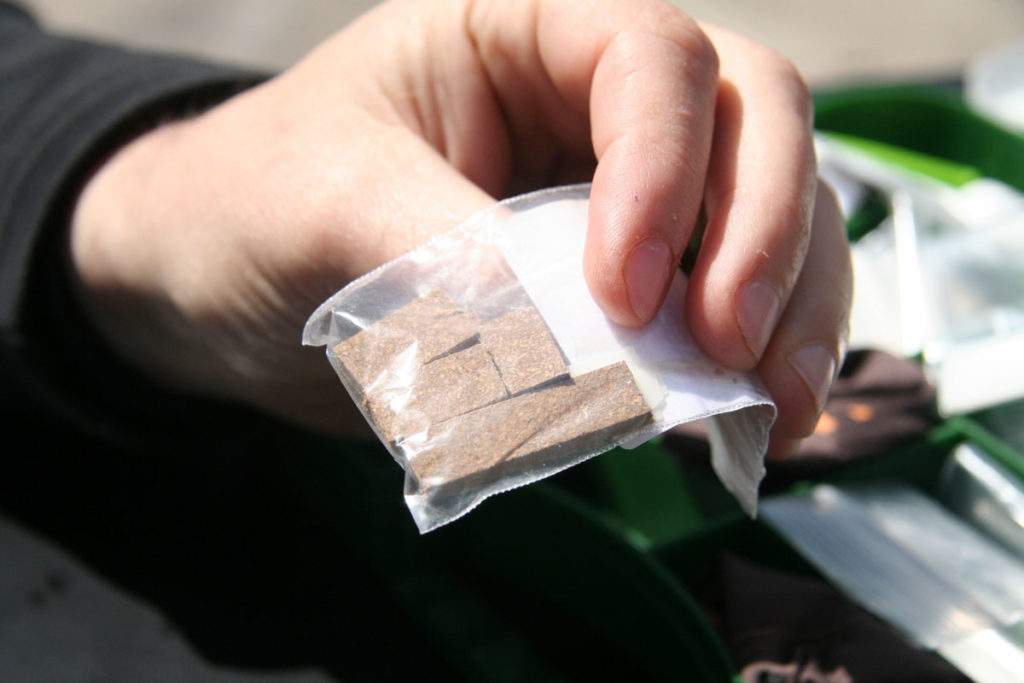
Calls have four components: The barrel, the tone board or insert that matches that call, wedge and reed(s). The proprietary nature of call designers ensure we have a wide variety of each of these items with the exception of the reeds which tend to be generally across thicknesses of .007 – .014 inches, but differ in length and cut. Some have rounded ends and others have cut ends. Calls are also bored to different sizes, and some tone boards are flat while others might include sound troughs or spit channels. Many modern calls we use today are referred to as Arkansas or J-frame calls.
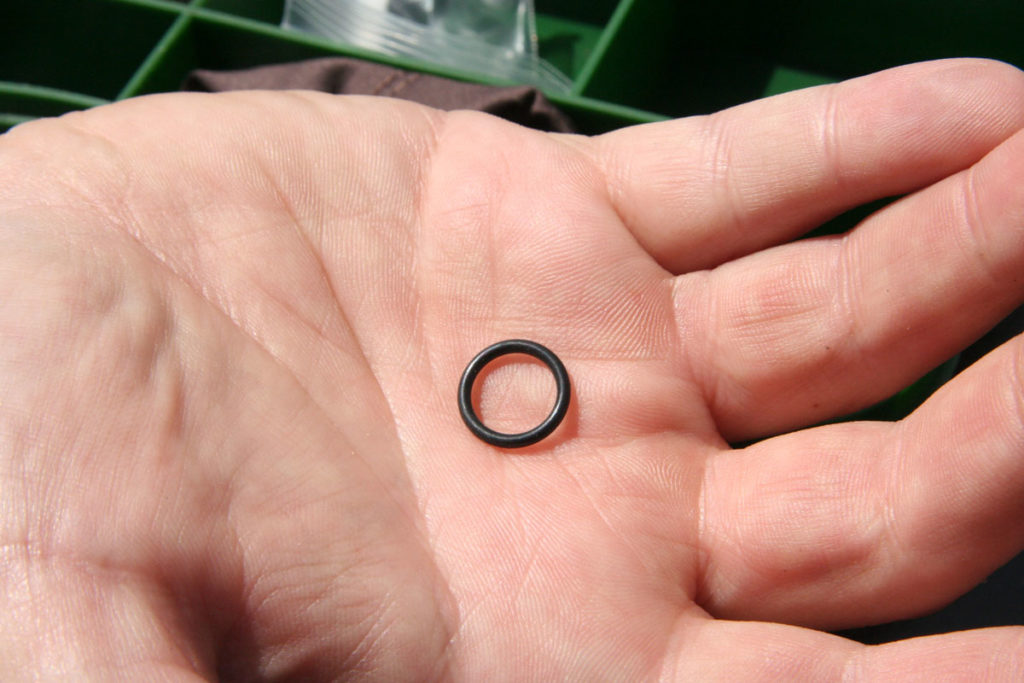
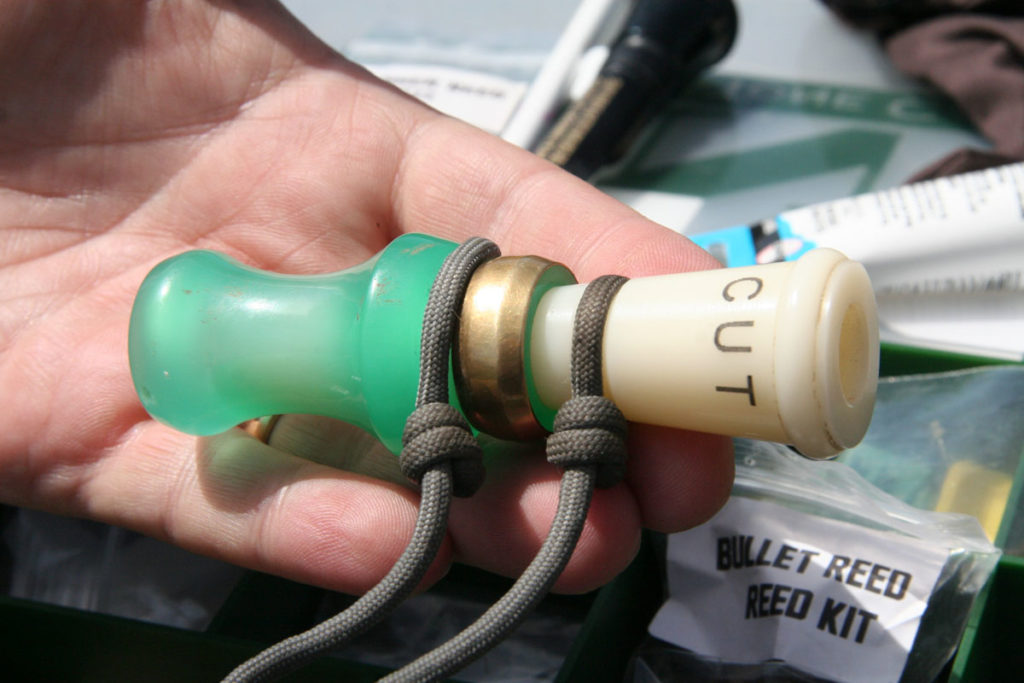
Most calls are held together with an O-ring, sealing the air and holding the barrel to the insert. Call makers will either place the O-ring on the insert or some will place the O-ring inside the barrel.
So grab your call and pull it apart by gently twisting and pulling. Some calls if they have not been separated in a while, or ever, can be tough to pull apart. You will get your first look at the interior and the variety of stuff that is caught in the call.

It is tough keeping your mouth clean throughout a hunt. We all eat, smoke, chew, or nourish ourselves and eventually ducks come in and we have a mouth full. Even at best, spitting everything out and washing out our mouths with water we pass stuff into the call that will sooner or later need to be cleaned. Just as well the spit needs to be washed out after each day in the field anyway.
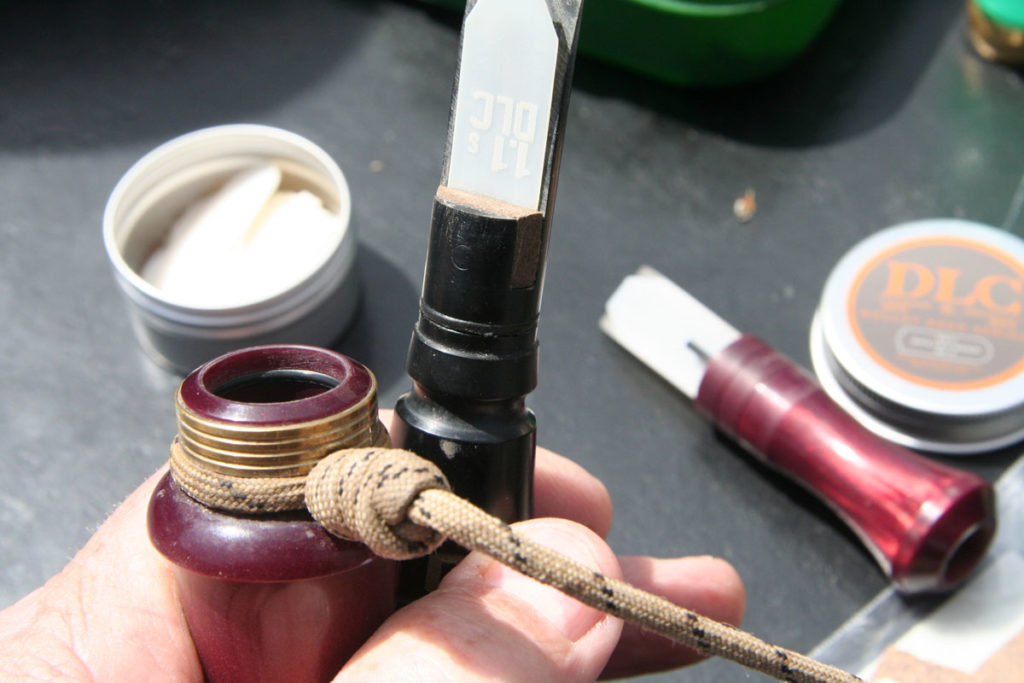
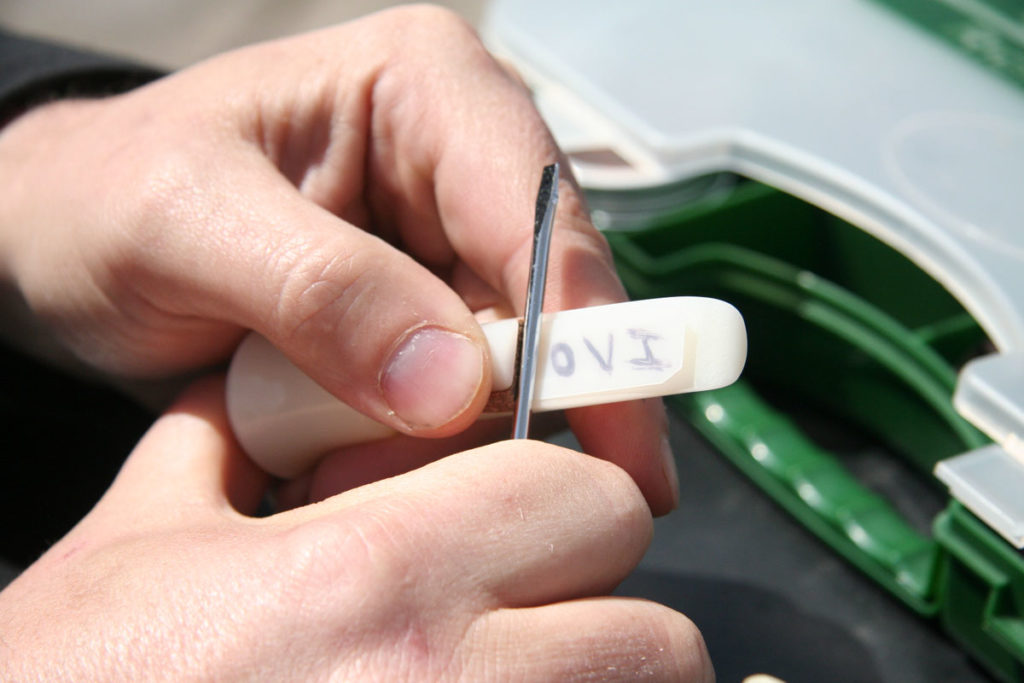
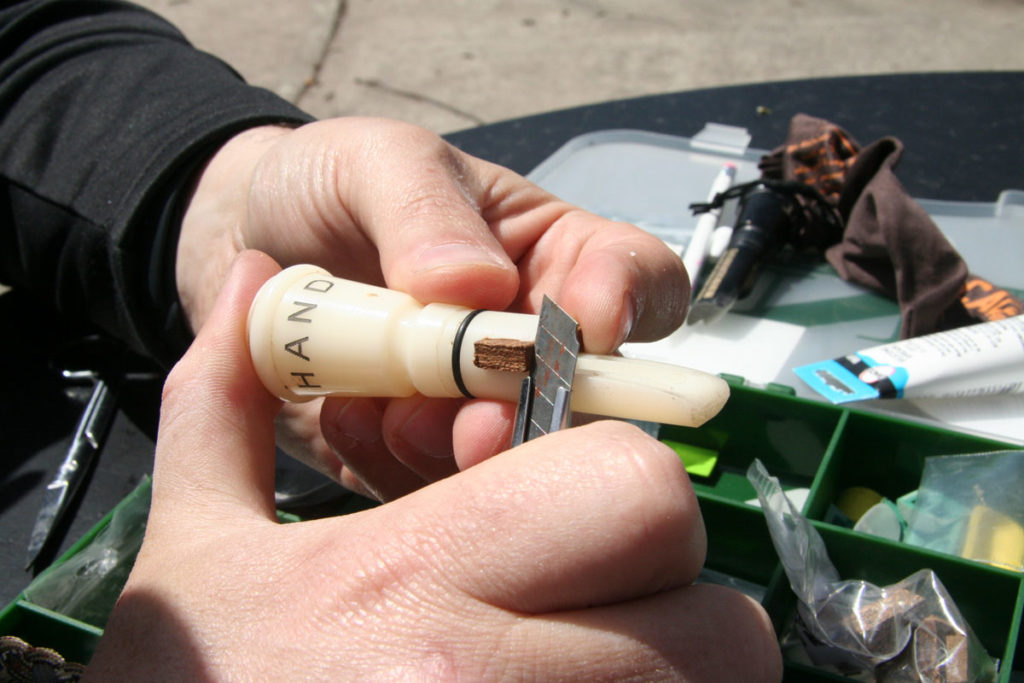
Once you pull it apart take note of the position of the reed(s). I pluralize this because some use single reed calls and some use double reed calls. The reed needs to be centered on the tone board and pushed all the way under the cork or rubber wedge. Just make note of the relationship between the reed, tone board, and wedge. Likely, over time they have moved some and that will greatly reduce the sound of your call. A double reed call will have a dimple on one of the reeds to keep them separated.
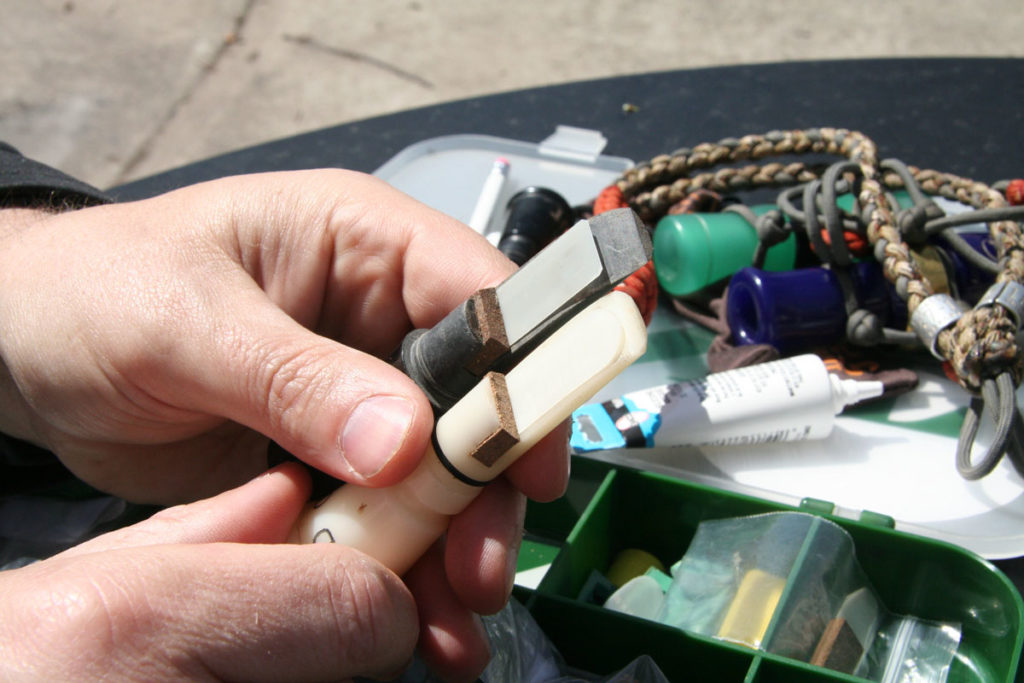
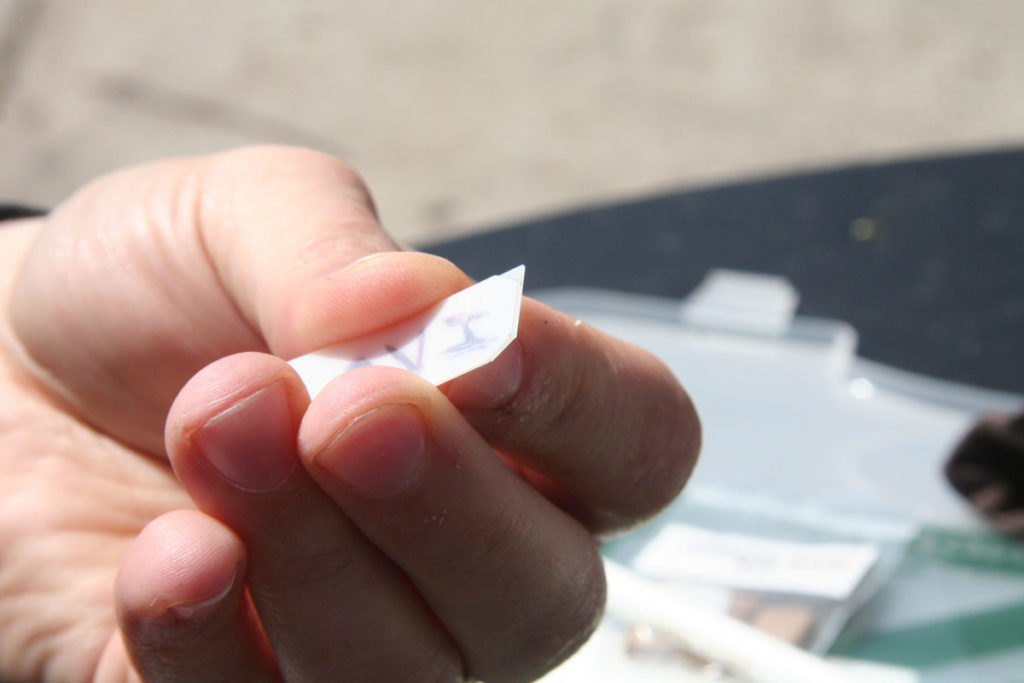
Pull the reed out along with the keeper but first for demonstration purposes mark the reed so you know which side goes up. Once removed there is a simple method of knowing this by squeezing the reed between your thumb and forefinger and noting which way bends easier. The reed will tend to bow away from the softer side; so many or most place the bow down or think of it as a smile. You always have options so try it both ways. The stiffer side down will require more air and produce some raspy and rougher sounds. Flip it and see if it changes your air and sound.
Remember how the call works. Your air vibrates the reed across the tone board. Therefore, the stiffer side goes down. Flex the reed both ways and you will very quickly be able to tell which side is stiffer.
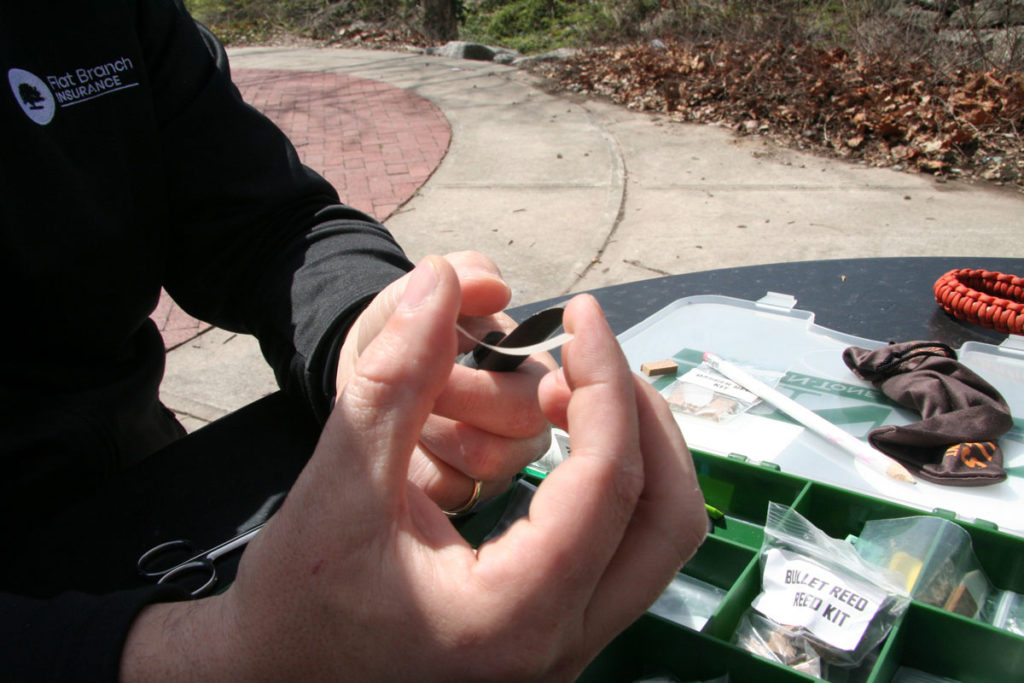
Clean your call with warm soapy water. Get the barrel, bore, and tone board clean before putting it all back together. As you reinstall the reed make sure it is on the correct way and make sure it is forced to the back of the tone board as you re-insert the keeper. It is a good idea to apply some slight pressure to the lip to make sure you don’t break it off when slipping the wedge under. Some calls will have a tab to help center the calls and some will be straight cut.
Part II
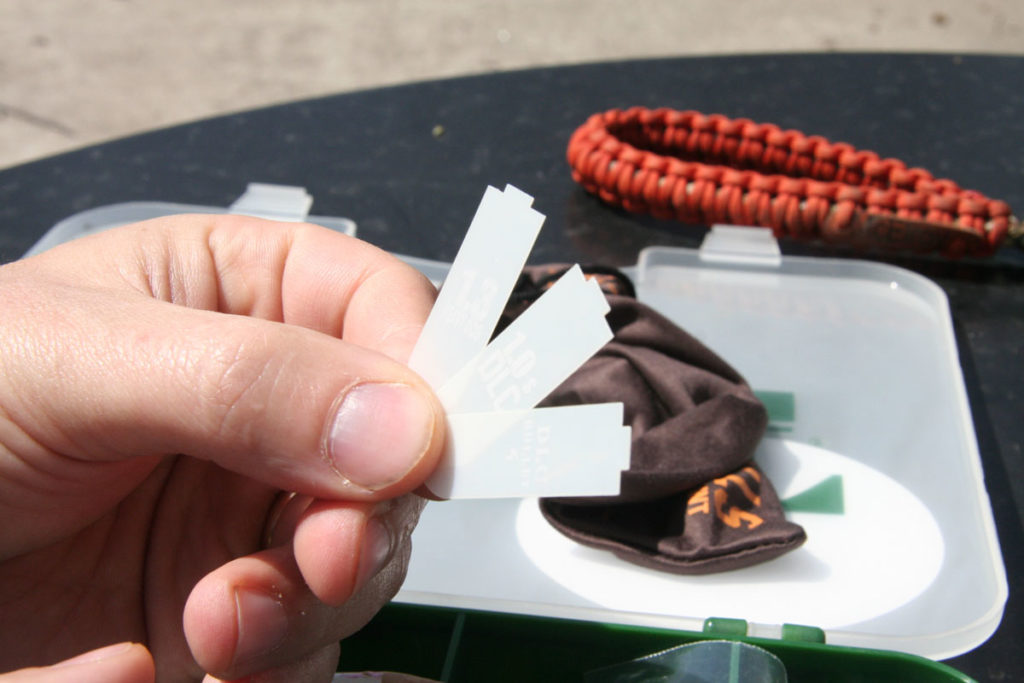
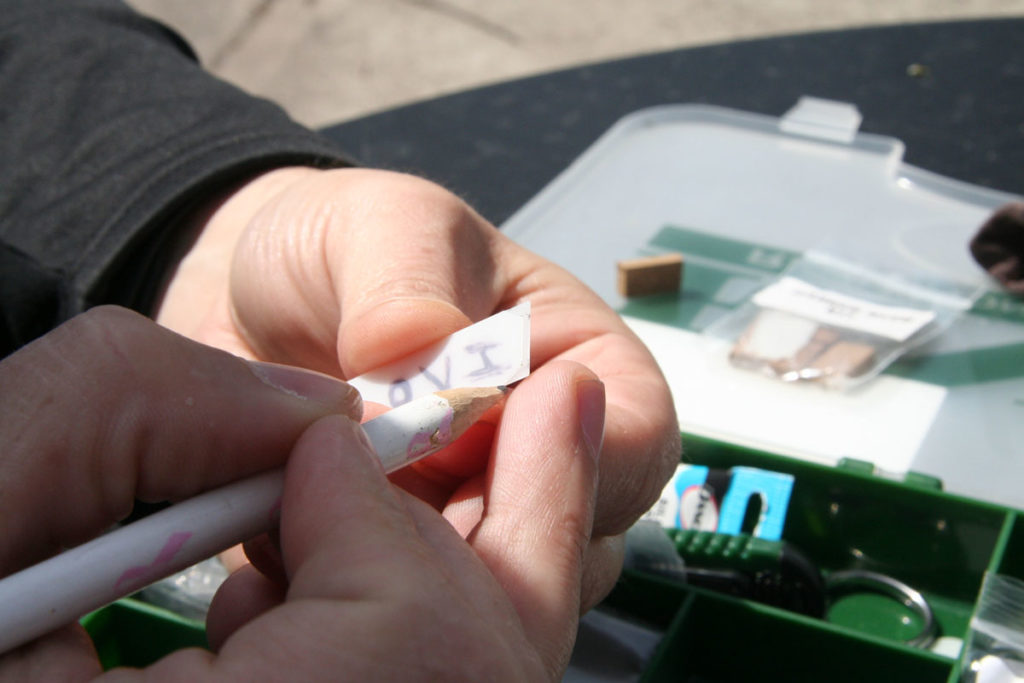
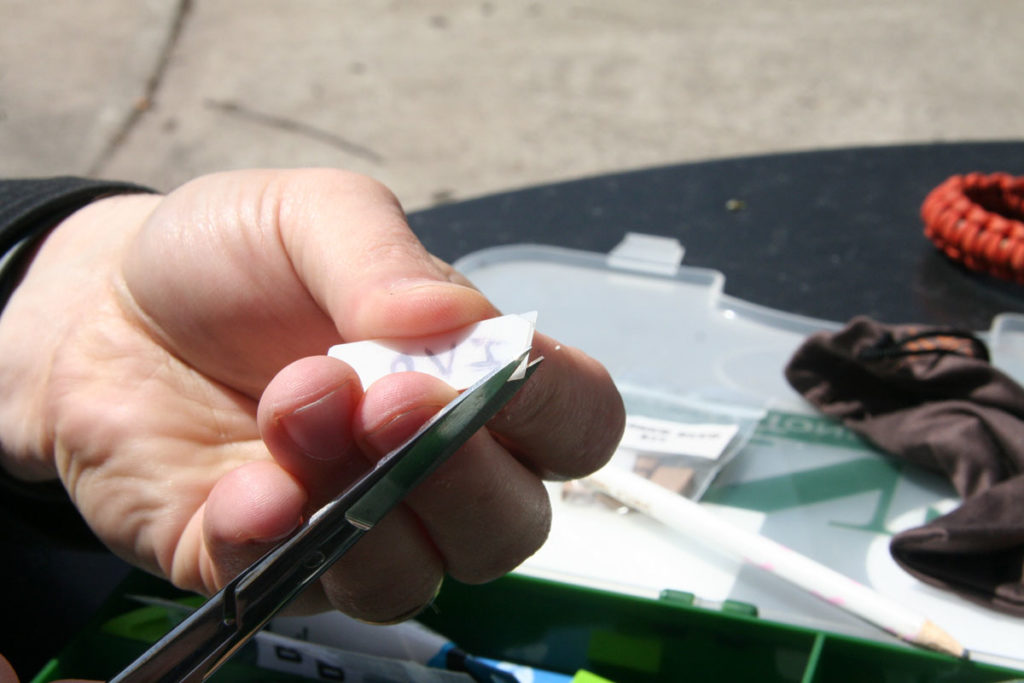
Now that we know how to take the call apart and put it back together let’s consider a complete replacement of all the parts of the call and some adjustments. I do this for several reasons. First, many seasonally replace all the parts especially the wedge, as it tends to shrink over time. Replacement parts can be both universal and specific to calls. Many kits are less than $10. You soon realize though the subtle similarity of components. To begin, you will have to measure and mark your reed onto a new reed so you can cut it. Use sharp scissors and you want a clean cut. Start just outside the line and keep trimming the reed.
Let me insert the idea of tuning a call and understand humans tune all calls. Each call tuner has their own characteristic, sound and output they want. Yours of course is yours to define. So experiment with a cut reed or try shorter and longer reeds. The variation in length is usually very small. A shorter reed will have a higher pitch while a longer reed will vibrate at a lower pitch. If all fails, you can always duplicate the original but trying different reeds and cuts might be worth the time to get what you want.
Once you replace your reed you will need to replace the wedge and these come universally over-sized. Some callers moisten the cork wedge in their mouth to soften it before inserting. Slip it in and cut the side off. Mark the cross cut on the wedge and remove it to make that cut to ensure you don’t cut into the reed. You can also place the wedge into the insert without a reed and make both cuts.
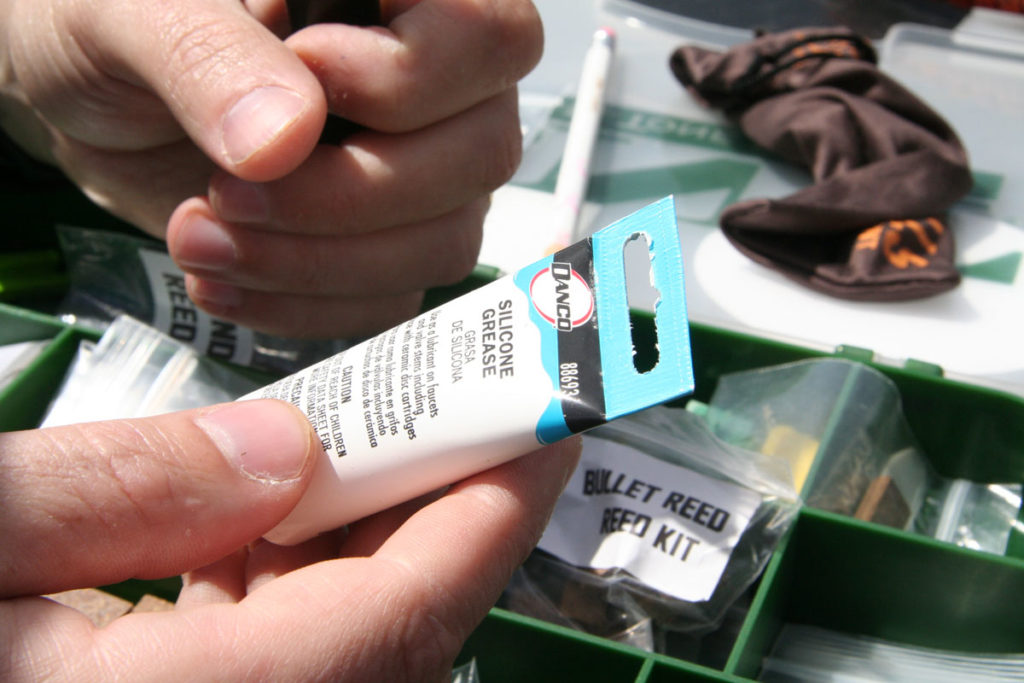
Some callers will lubricate the O-rings with a water-based silicone. That is fine, just remember a call needs both halves and once lubricated you can have a call come apart unknowingly. For this reason I highly recommend a double loop lanyard.
I recommend you take an old call and pull it apart and try a few different reeds and wedge cuts. Remember if you leave the wedge cut beyond the insert that will stiffen the reed. Experiment with reed cuts, shaving reeds down, and wedges and see what each change does to the tone and sound of the call. Make notes of the changes so you can reference these as you go along. I assure you those changes will be notable and noticeable.

Remember calls are the product of the tuner. You can become good at this if you practice. The first step is to order a call tuning kit if your original call did not include extras and don’t be afraid to make changes. Also, keep in mind most call companies want you to be satisfied and will tune your calls at no cost if you either take the calls to them at a sport show or send them in to be tuned. I also know they love to visit with their customers so do not hesitate to give them a call. Either way it is a good idea to clean and tune your calls before each season. Once you do this a few times, you will even carry a few reeds in your shell bag just in case.